Manual / FAQs
métier Click2CableDraw 1.01
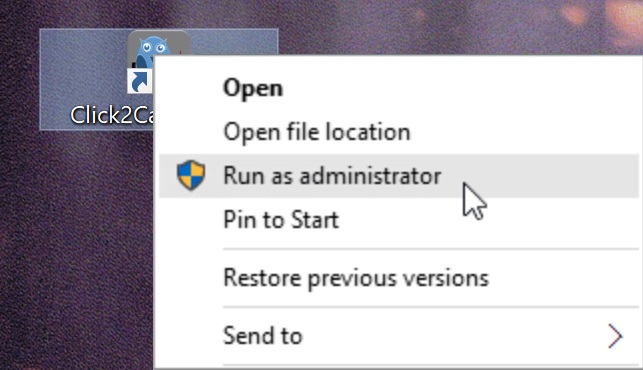
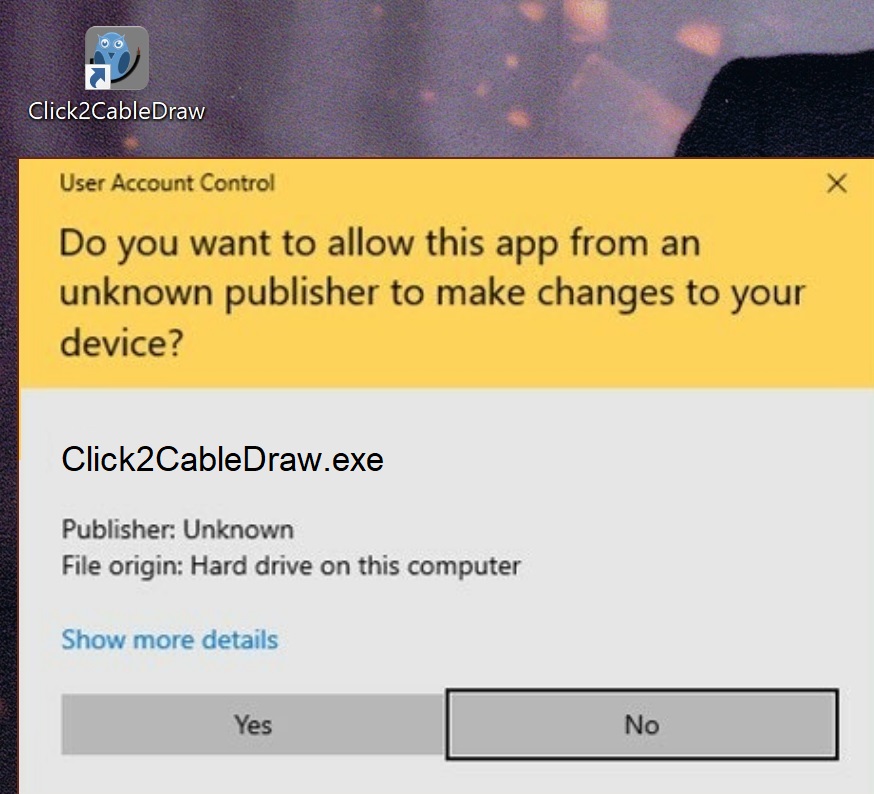
Installation, problem: If you receive a message after the installation that access to a folder is required, proceed as follows
Right mouse button on desktop icon -> Run as administrator -> Click Yes
Info
Click2CableDraw distinguishes between Side A and Side B.
If you look at the screen, the left side of the drawing is side A, the right side of the drawing is side B.
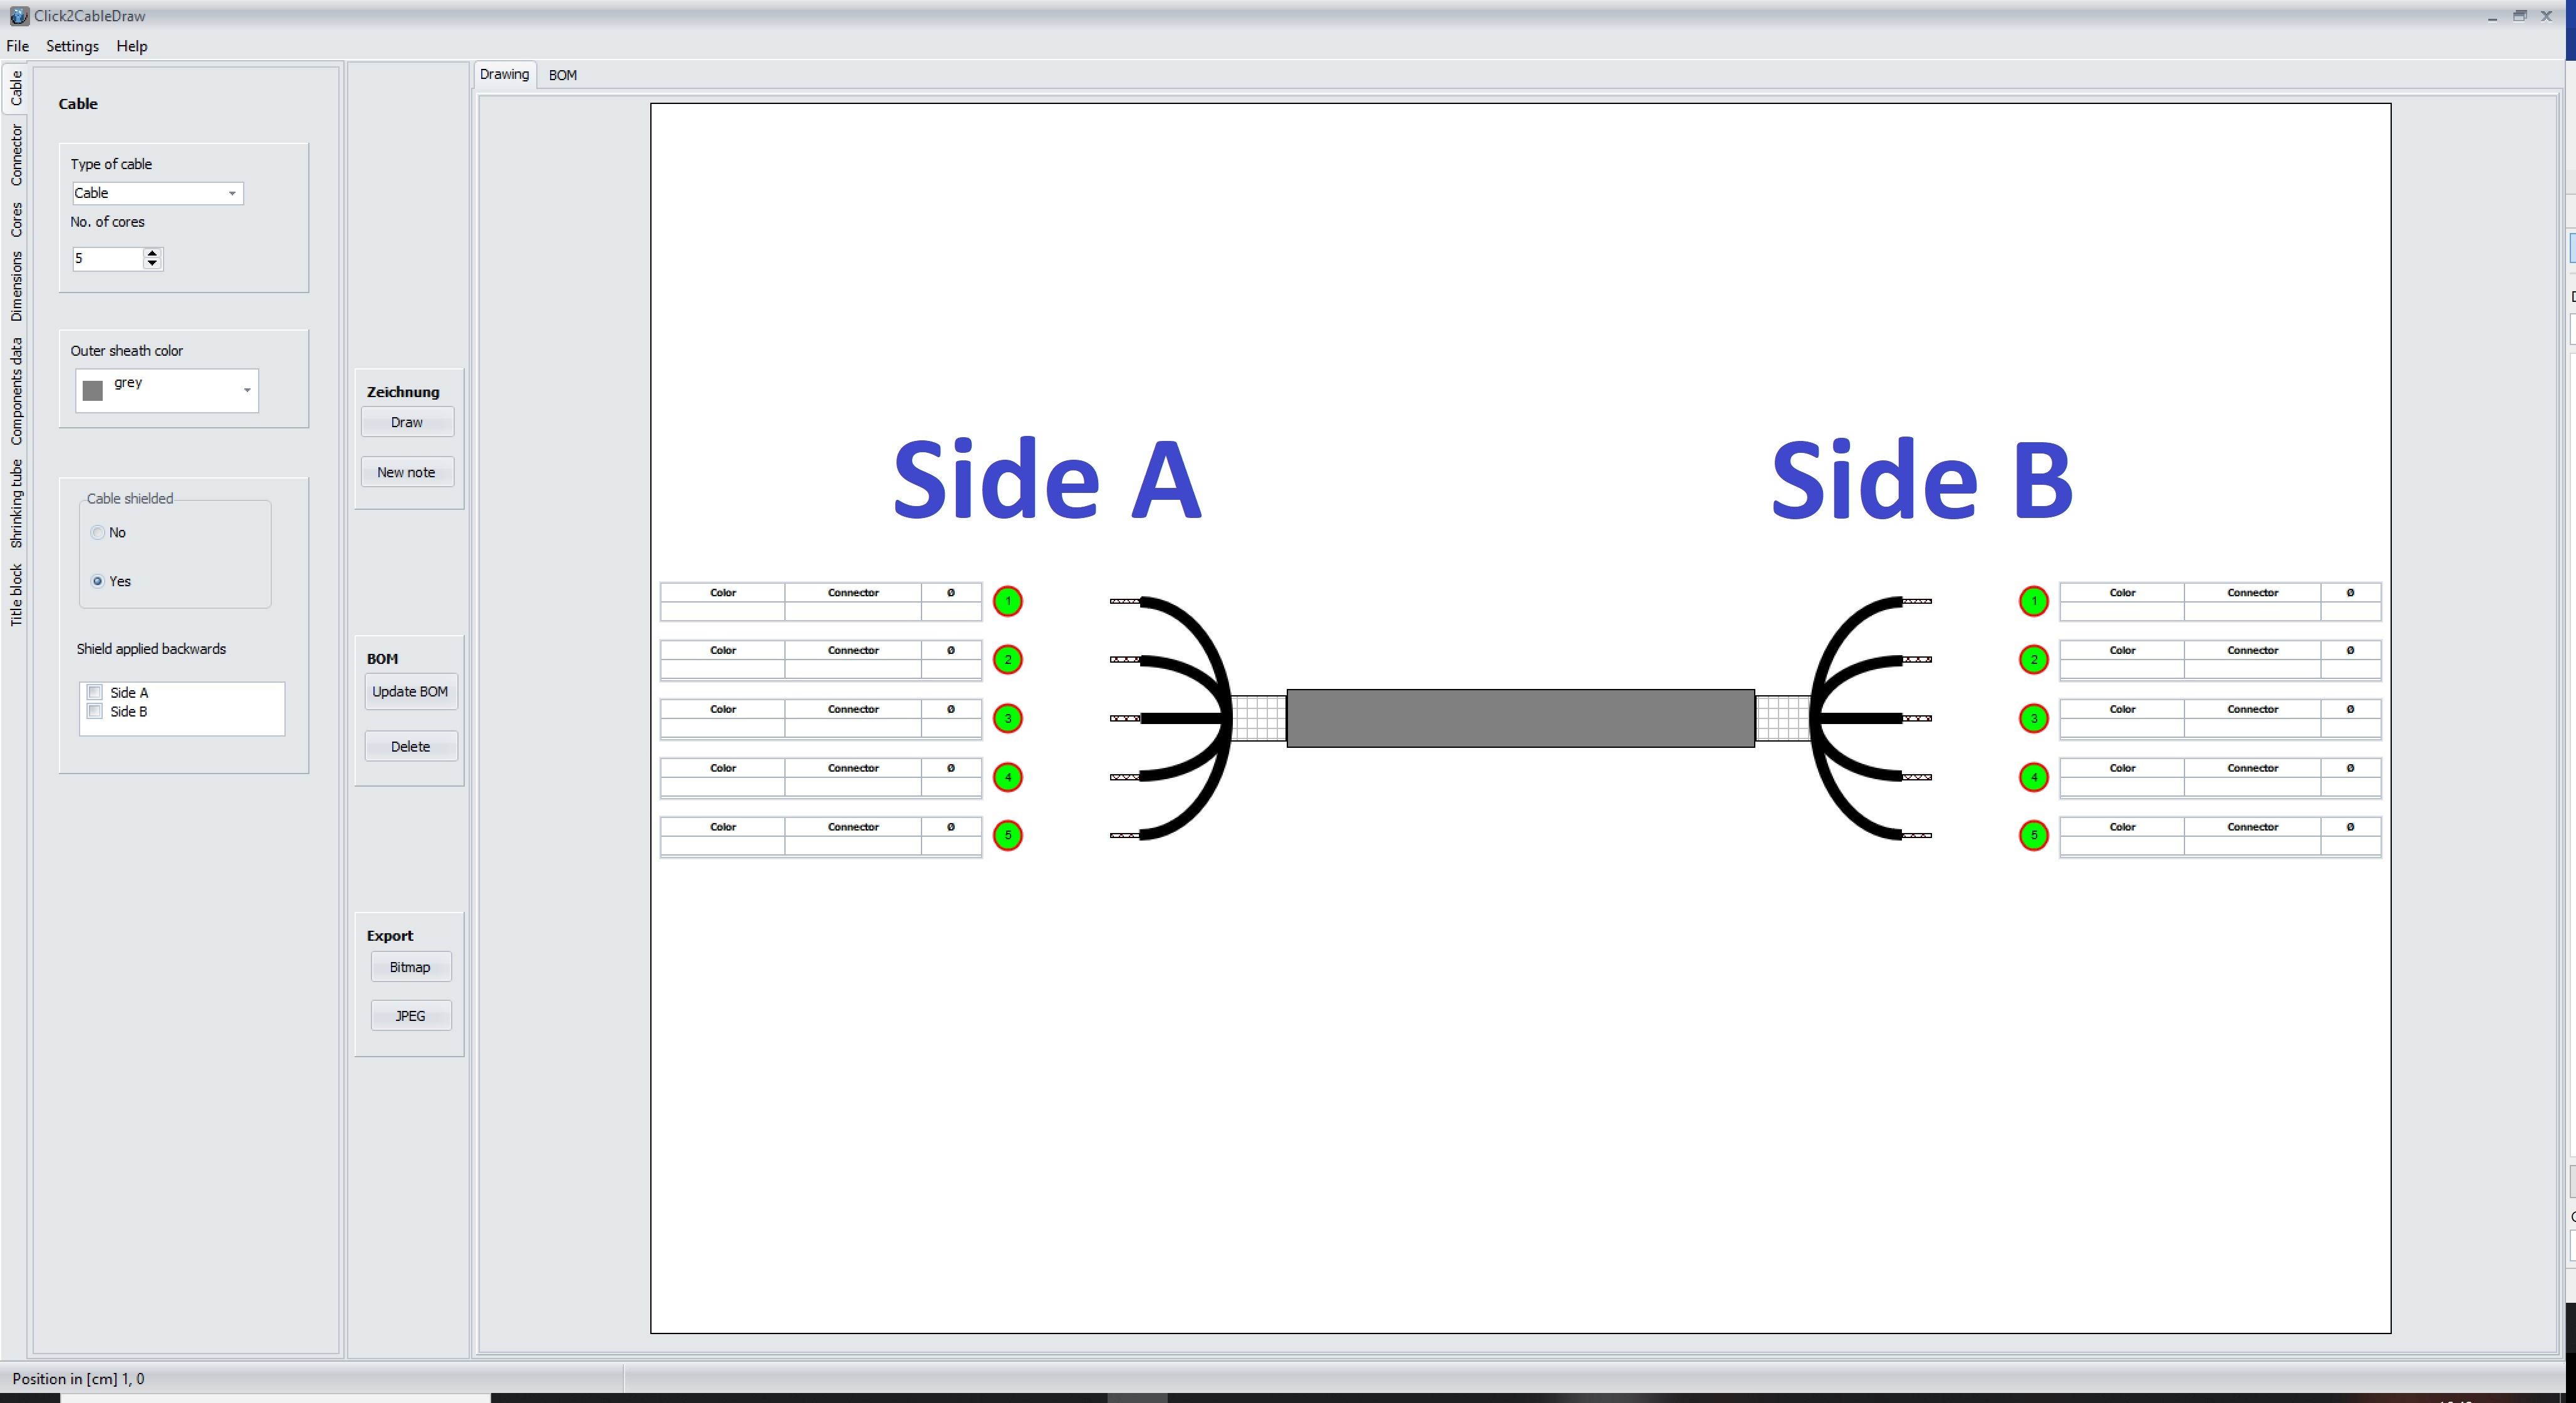
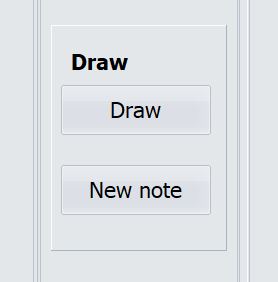
Creating the first drawing
Start Click2CableDraw -> click on the Cable tab -> click on Draw in the middle of the screen -> a new drawing is created.
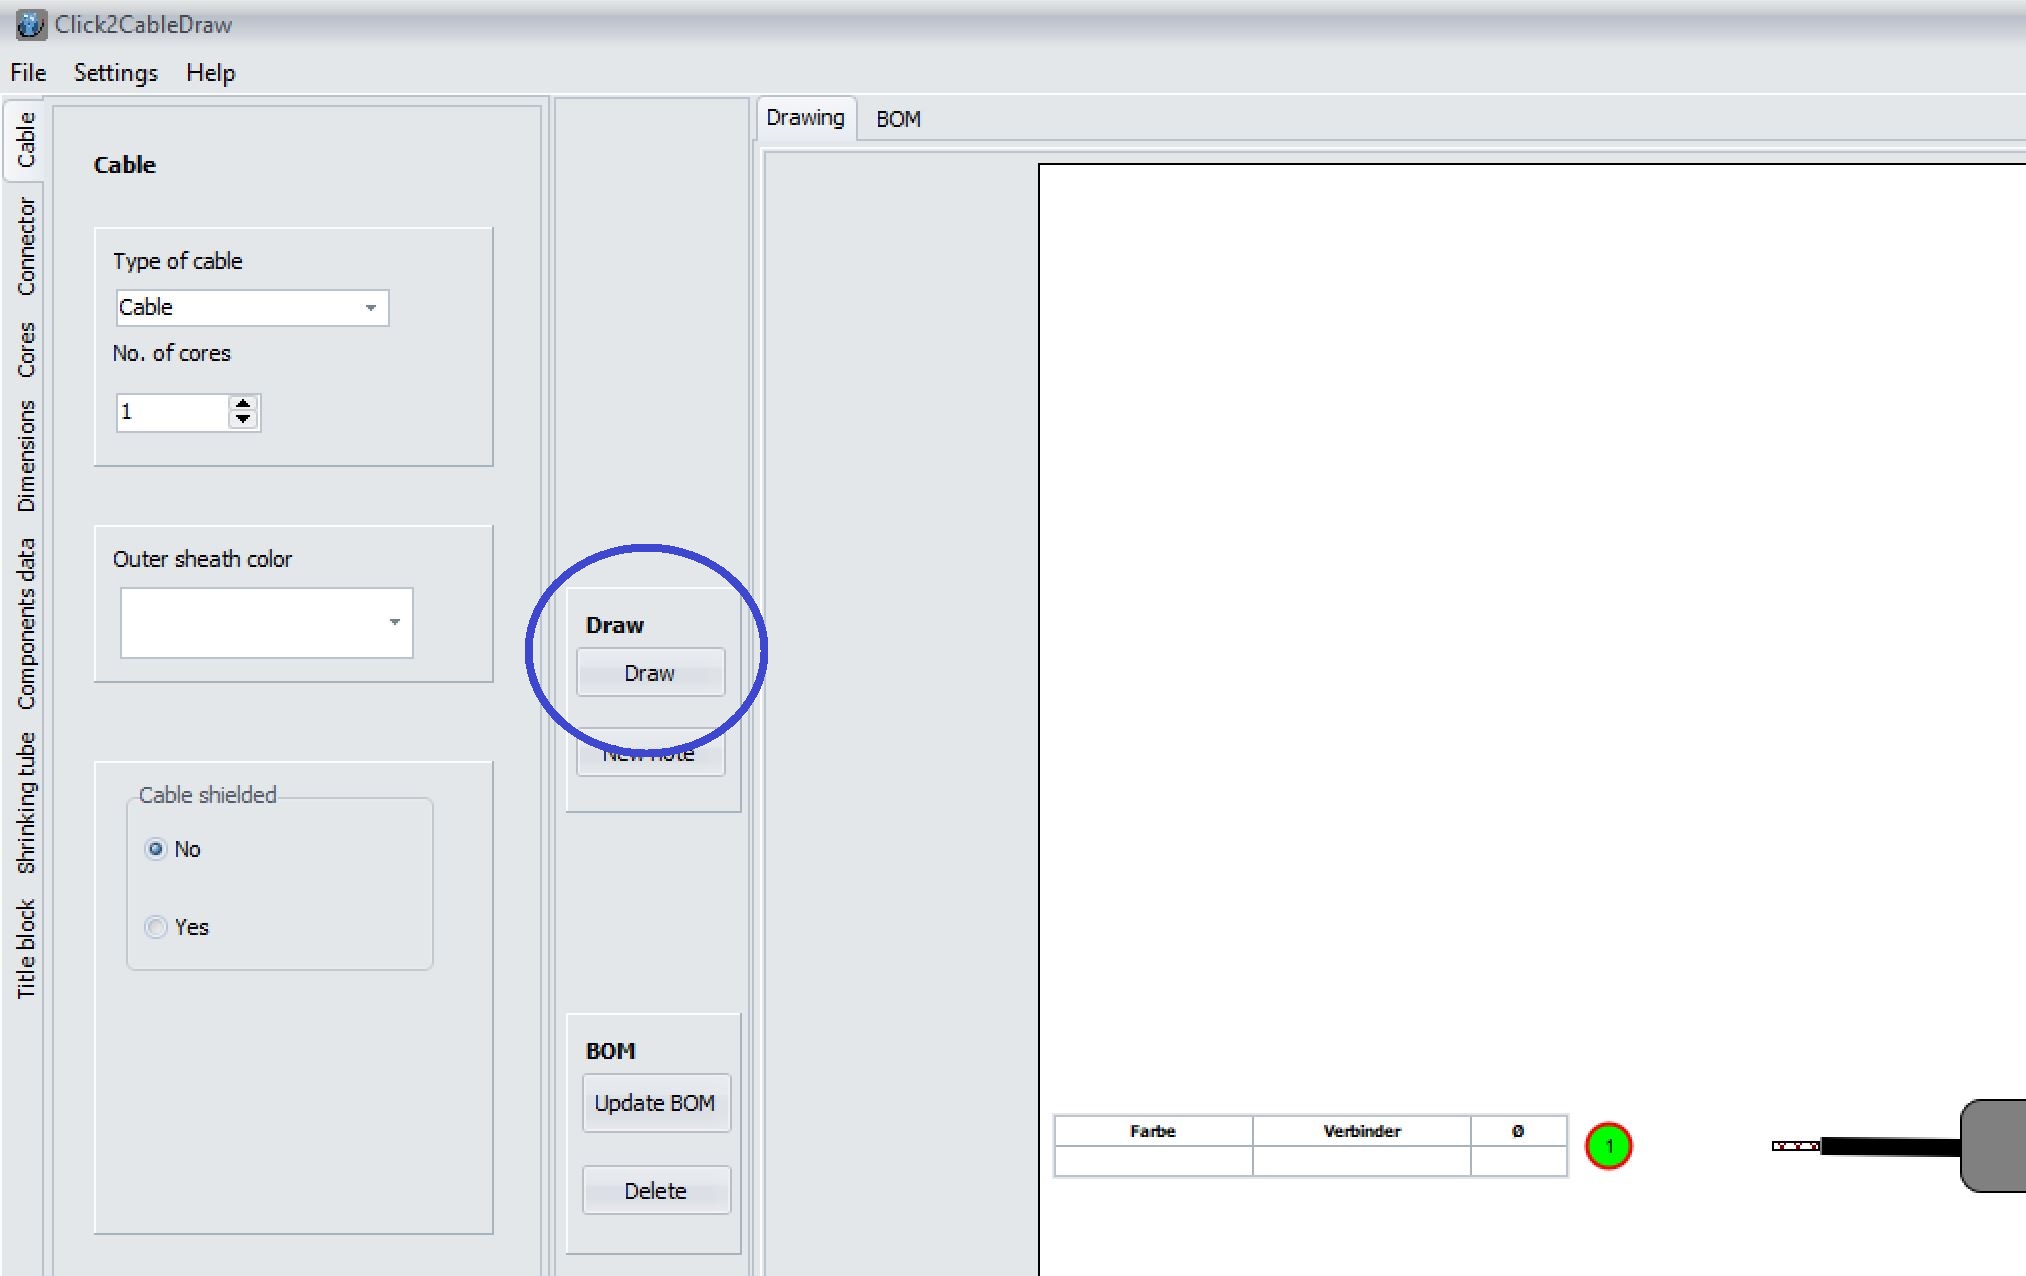
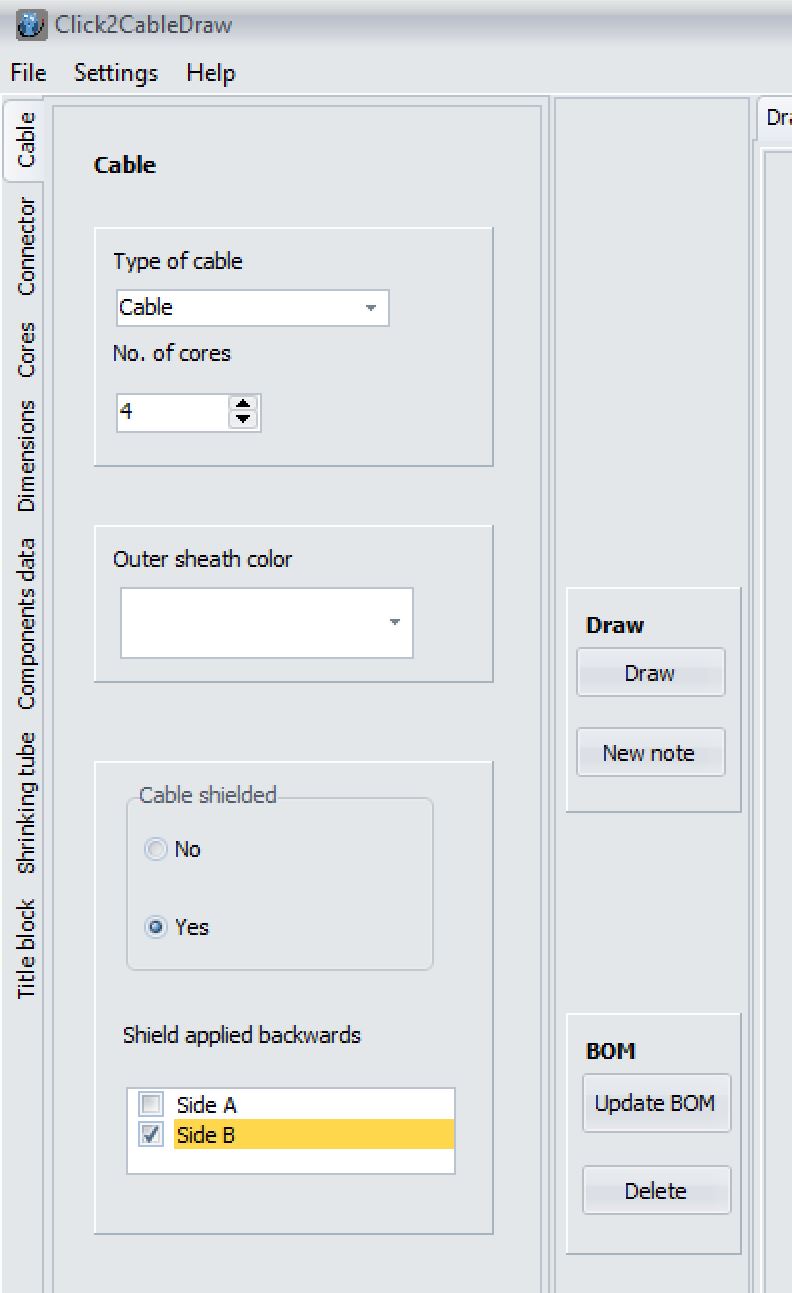
Cable tab
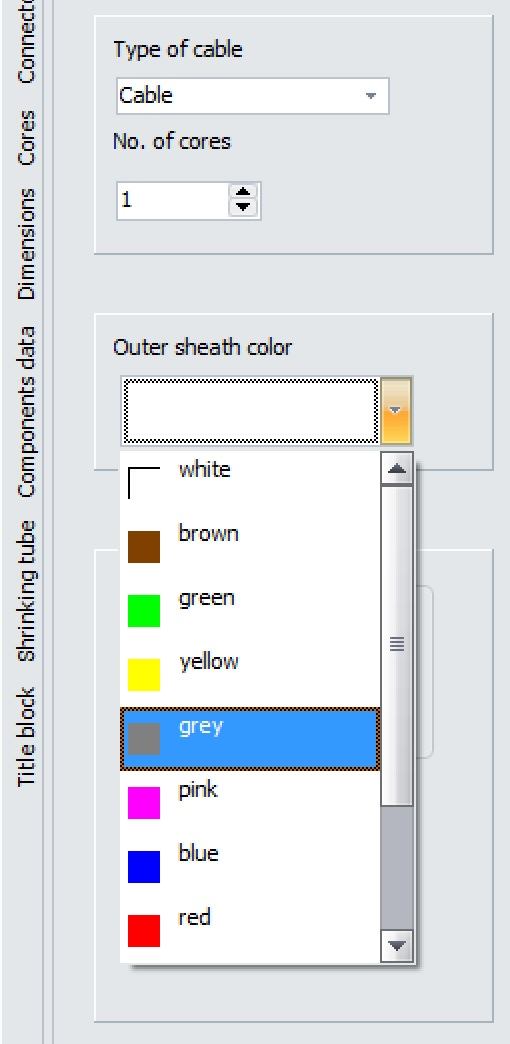
Click2CableDraw can draw cables with multiple cores as well as single cores.
Open Click2CableDraw -> Click on the Cable tab -> Select Cable or Single core in the Type of Cable field.

The sheath color can also be selected in the Cable tab.
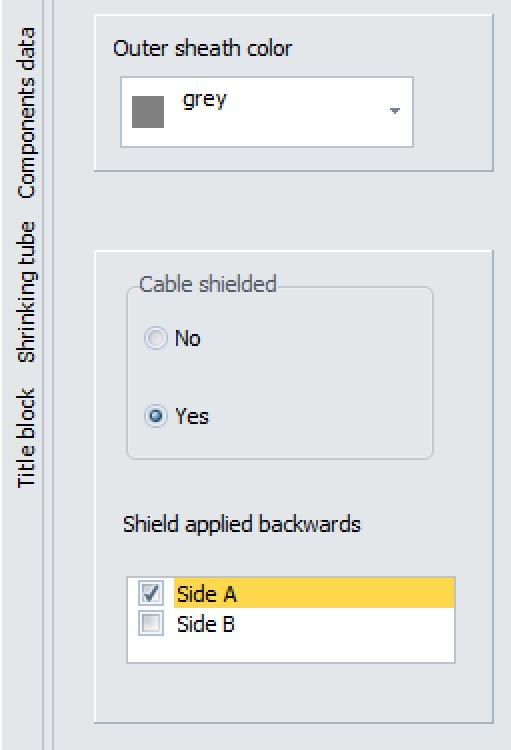
Now you can also specify whether your cable is shielded or not. If you select Yes, you also have the option of deciding on which side the shield should be applied backwards
on the cable.
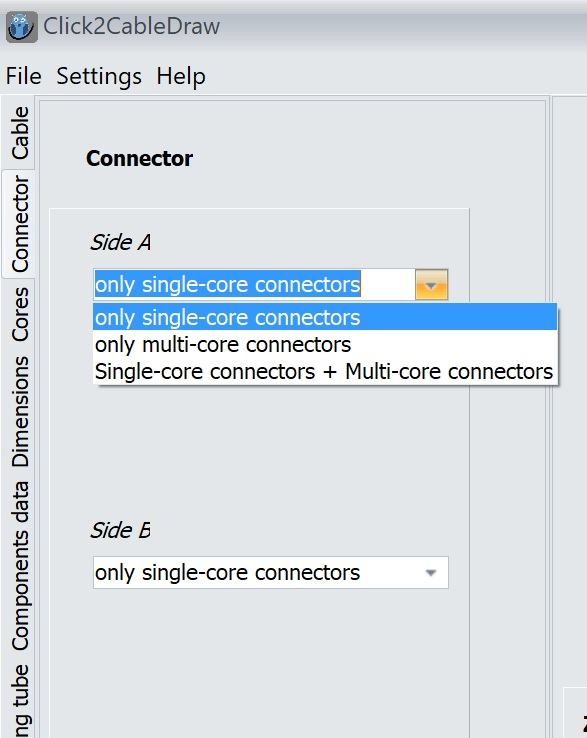
Connector tab
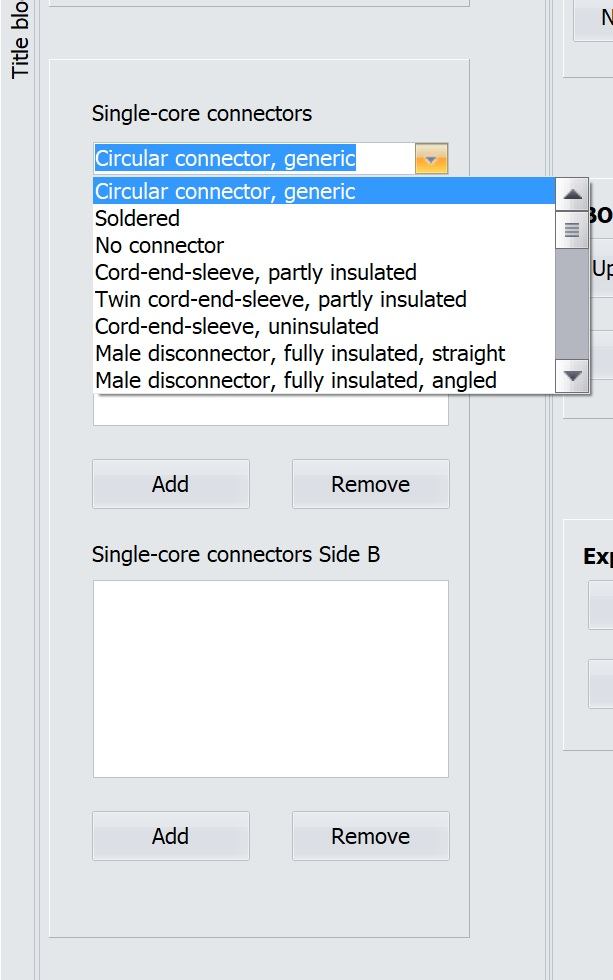
Click2CableDraw distinguishes between single-core connectors (SCC) and multi-core connectors (MCC). Single-core connectors are designed to be attached to a single core, while multi-core connectors can
be connected to several cores.
Open Click2CableDraw -> Click on the Connector tab.
Now you have the option of selecting which connectors you want on which side:
- only single- core connectors
- only multi-core connectors
- Single- core connectors + Multi- core connectors
Depending on your selection, various fields will now open below in which the desired connectors can be placed.
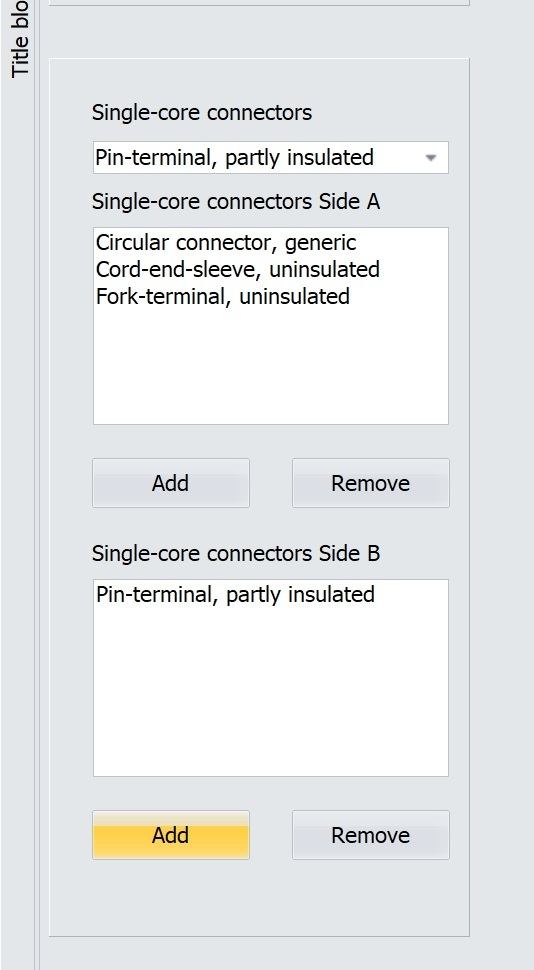
Select the required connector from the list and click Add.
The connector in the first line corresponds to the connector for core 1
The connector in the second line corresponds to the connector for core 2
...etc.
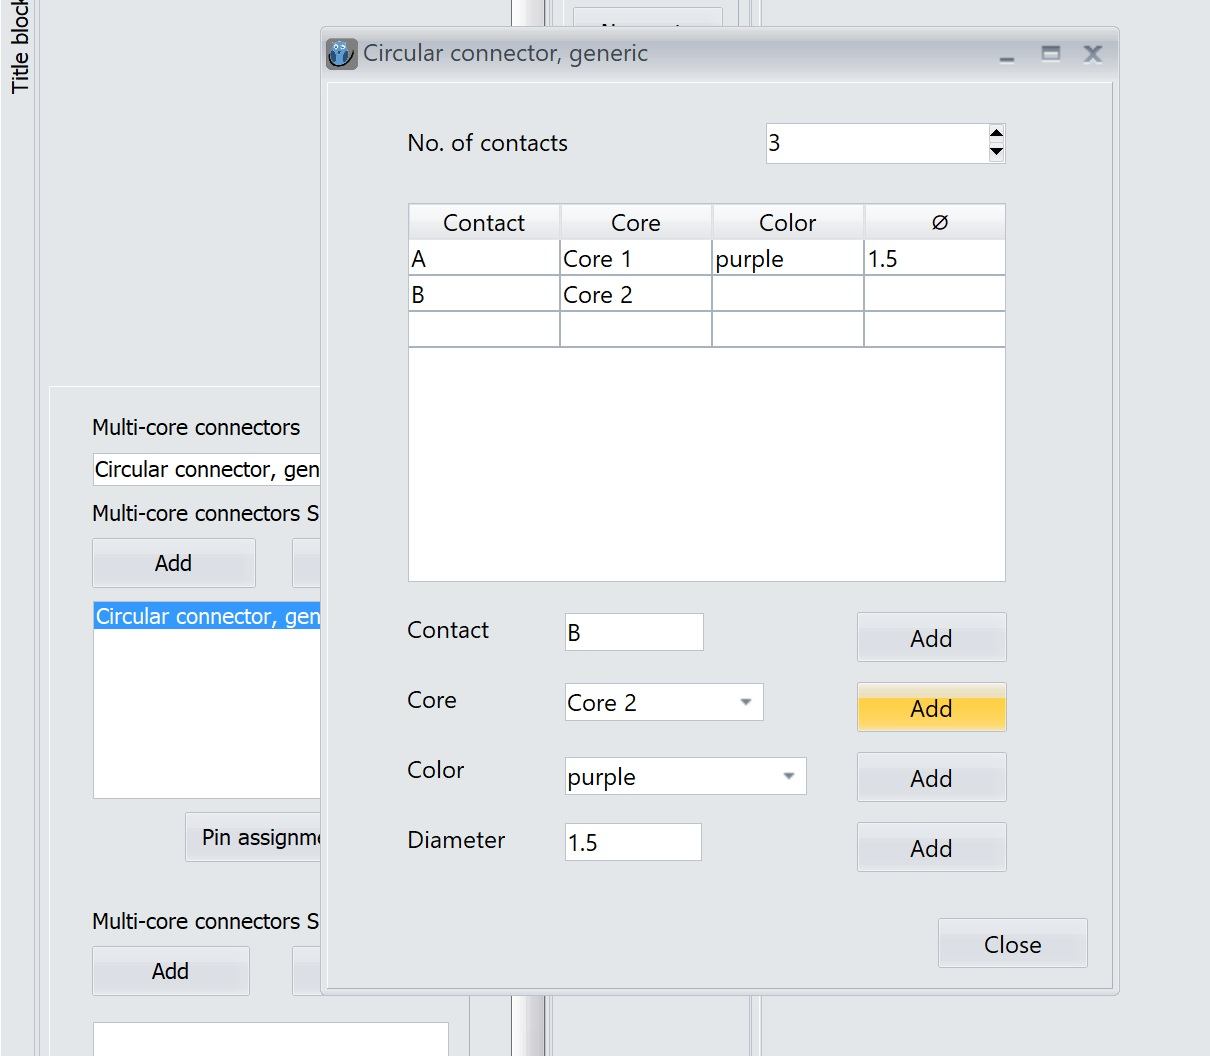
If you have a multi-core connector, you can define the pin assignment for this, i.e. which wire is to be connected to which pin.
Select the desired connector -> then click on Pin assignment.
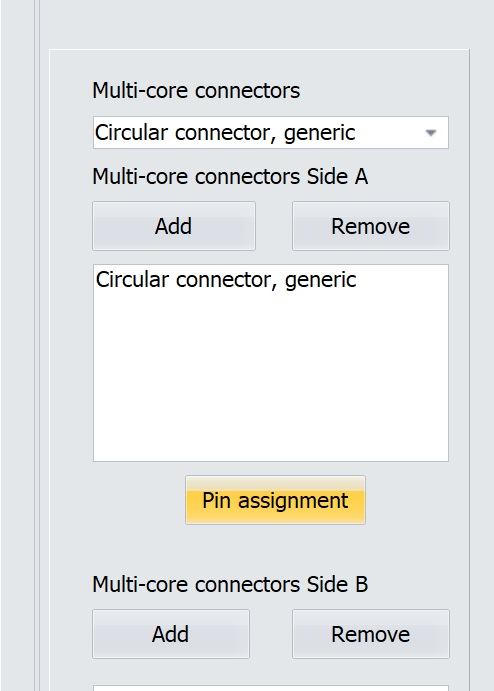
You now have the option of assigning a core to each contact of the multi-core connector.
Cores tab
Open Click2CableDraw -> click on the Cores tab.
Cores can be selected either by number or by color.
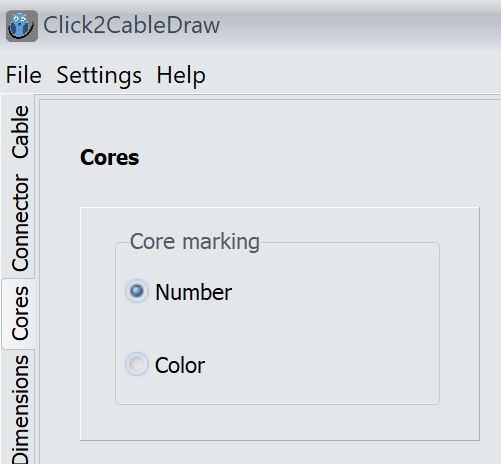
If you select Number, you have the option below to select which core color all cores should have in common.
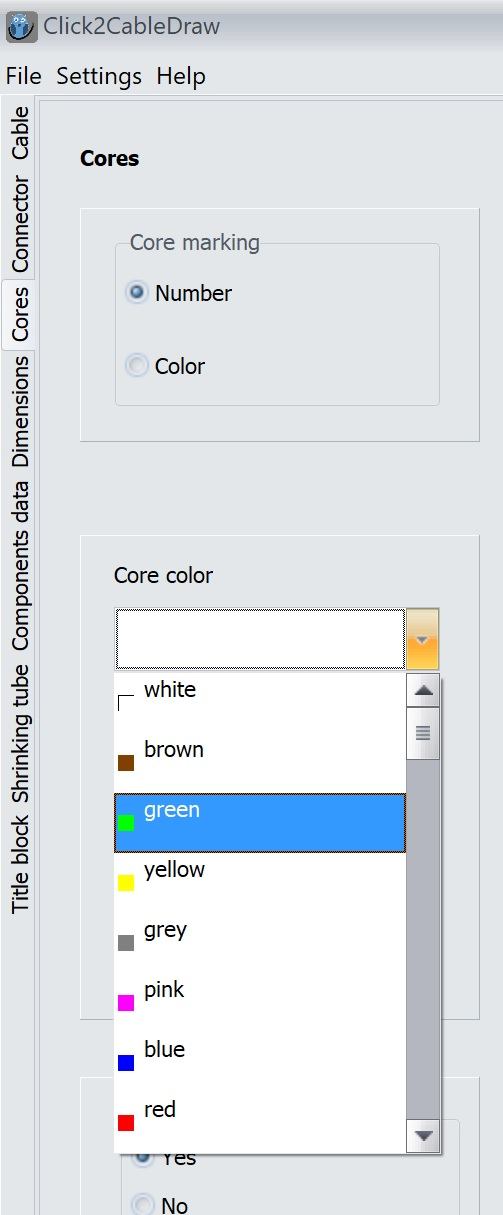
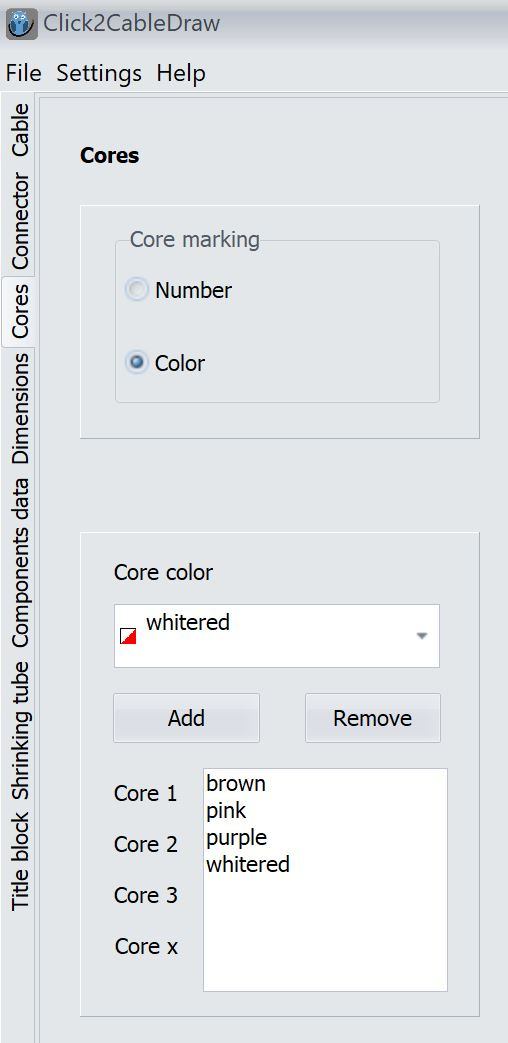
If you select Color, you can then assign a color to each individual core.
To do this, select a core color from the selection list and then click on Add.
The color in the first line corresponds to the connector for core 1
The color in the second line corresponds to the connector for core 2
...etc.
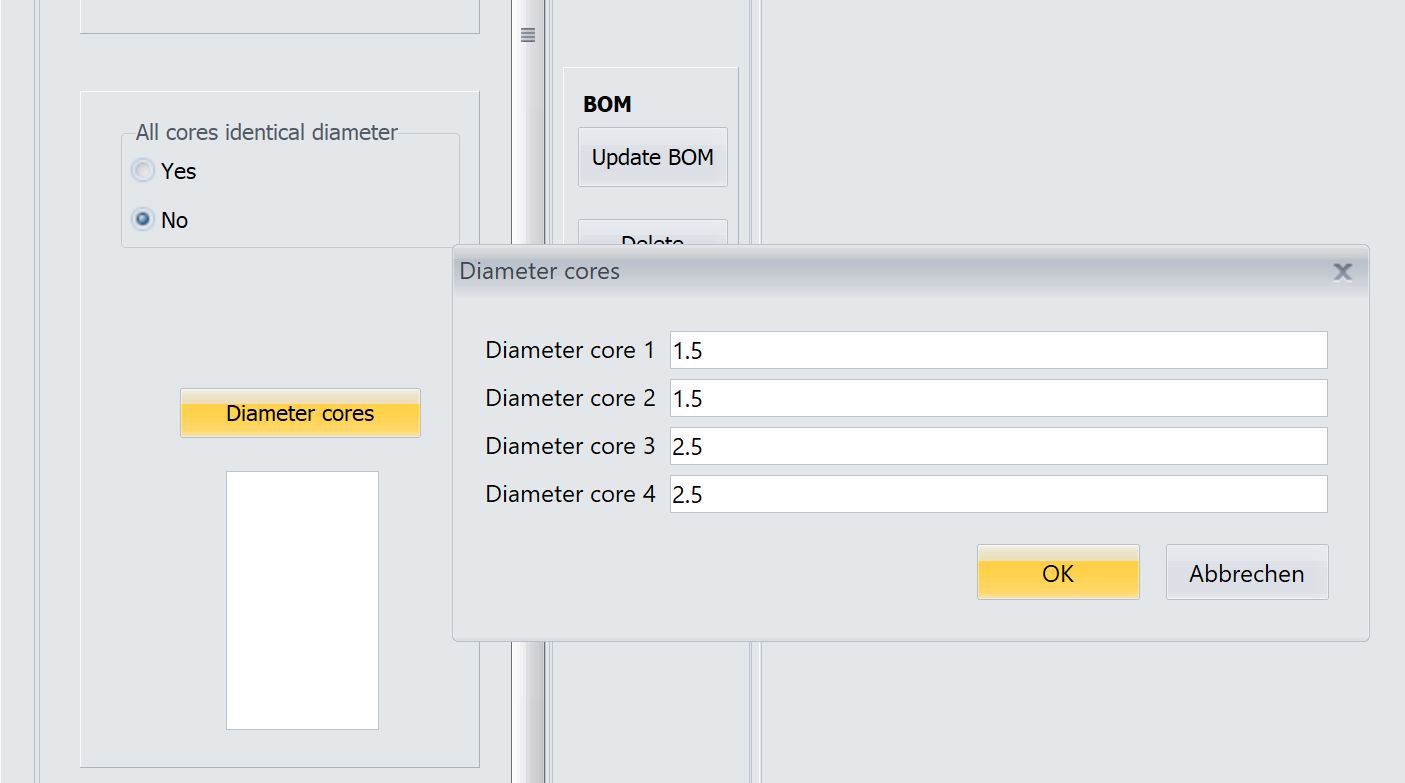
If all cores have the same cross-section, you can enter this below.
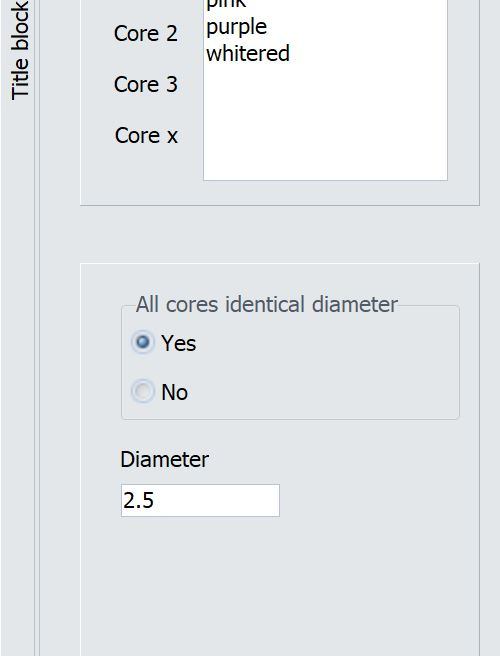
If this is not the case, tick No and then click on Diameter cores. You can now enter the cross-section of each individual core in
the open window.
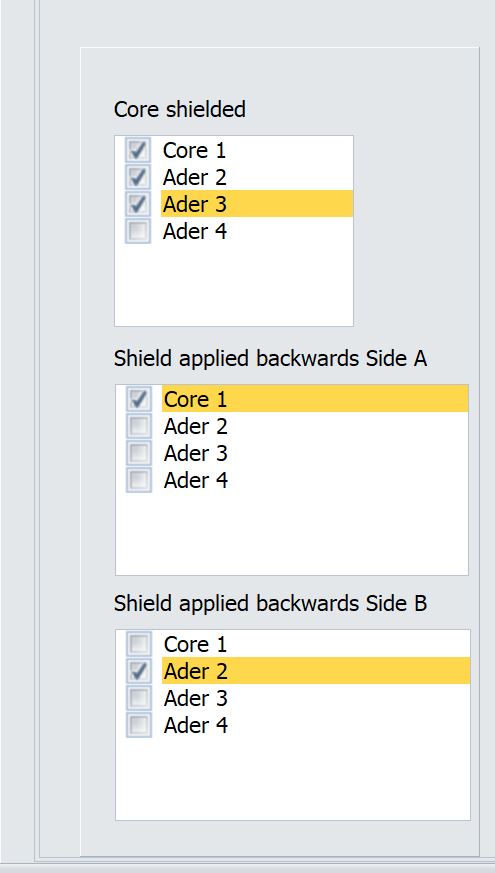
Cores can be both shielded and unshielded. You can now check which cores are shielded. For cores that are shielded, the shield can be applied backwards to the core. You can also check this box here.
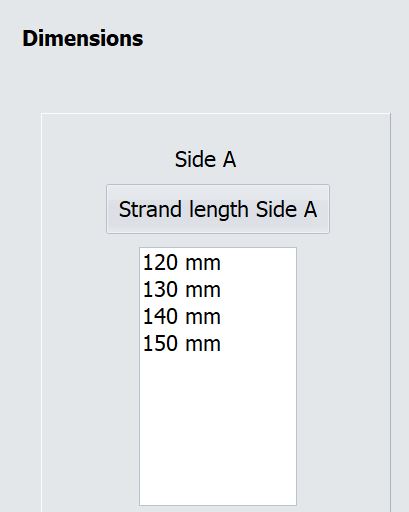
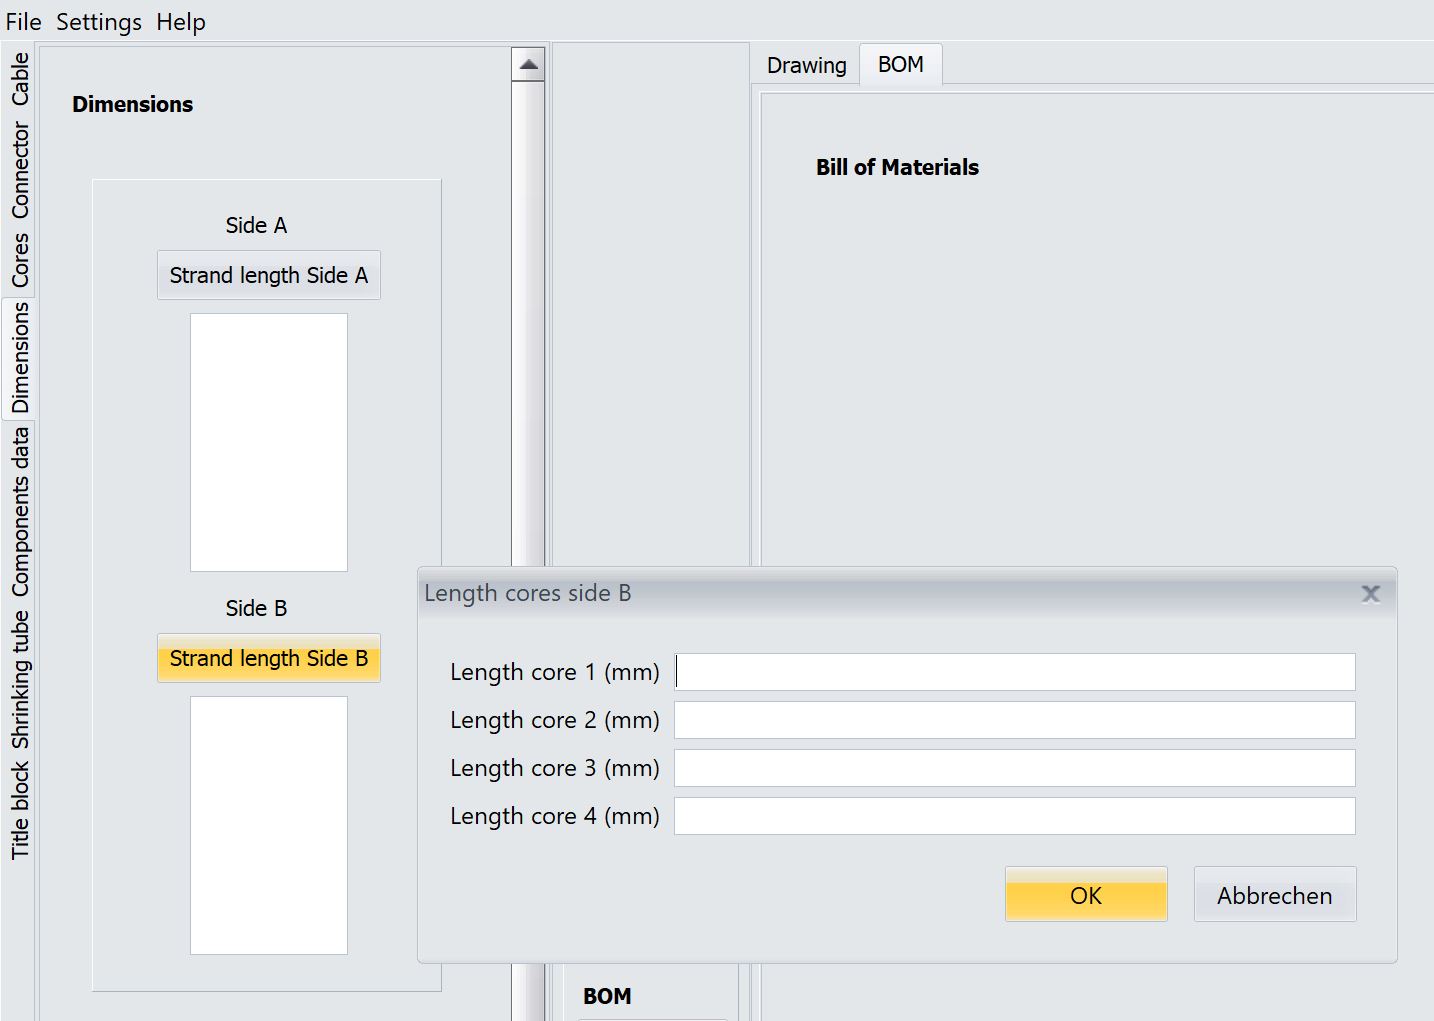
Dimensions tab
Click2CableDraw allows you to dimension a cable completely.
Open Click2CableDraw -> click on the Dimensions tab.
You now have the option of specifying the appropriate length for each strand, for each core and for each shield.
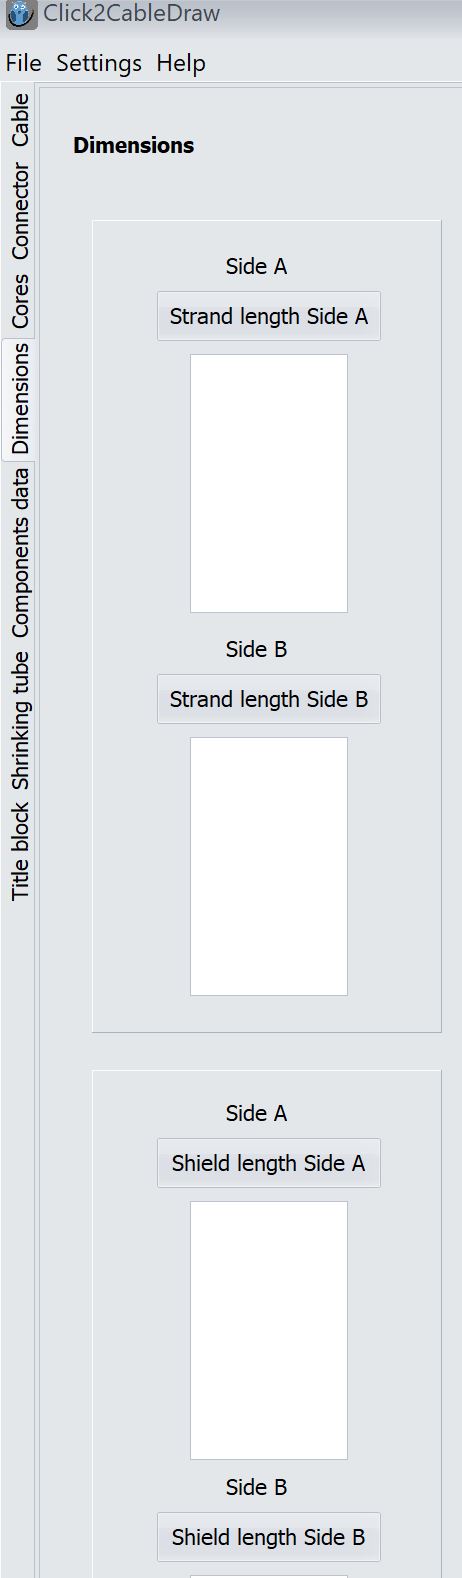
To do this, click on [...] length page [A,B]
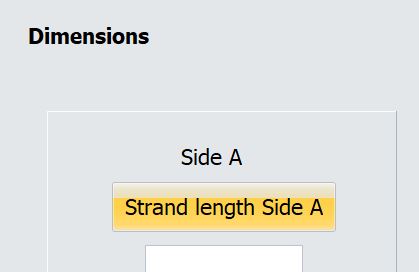
and enter the lengths in the window that opens.
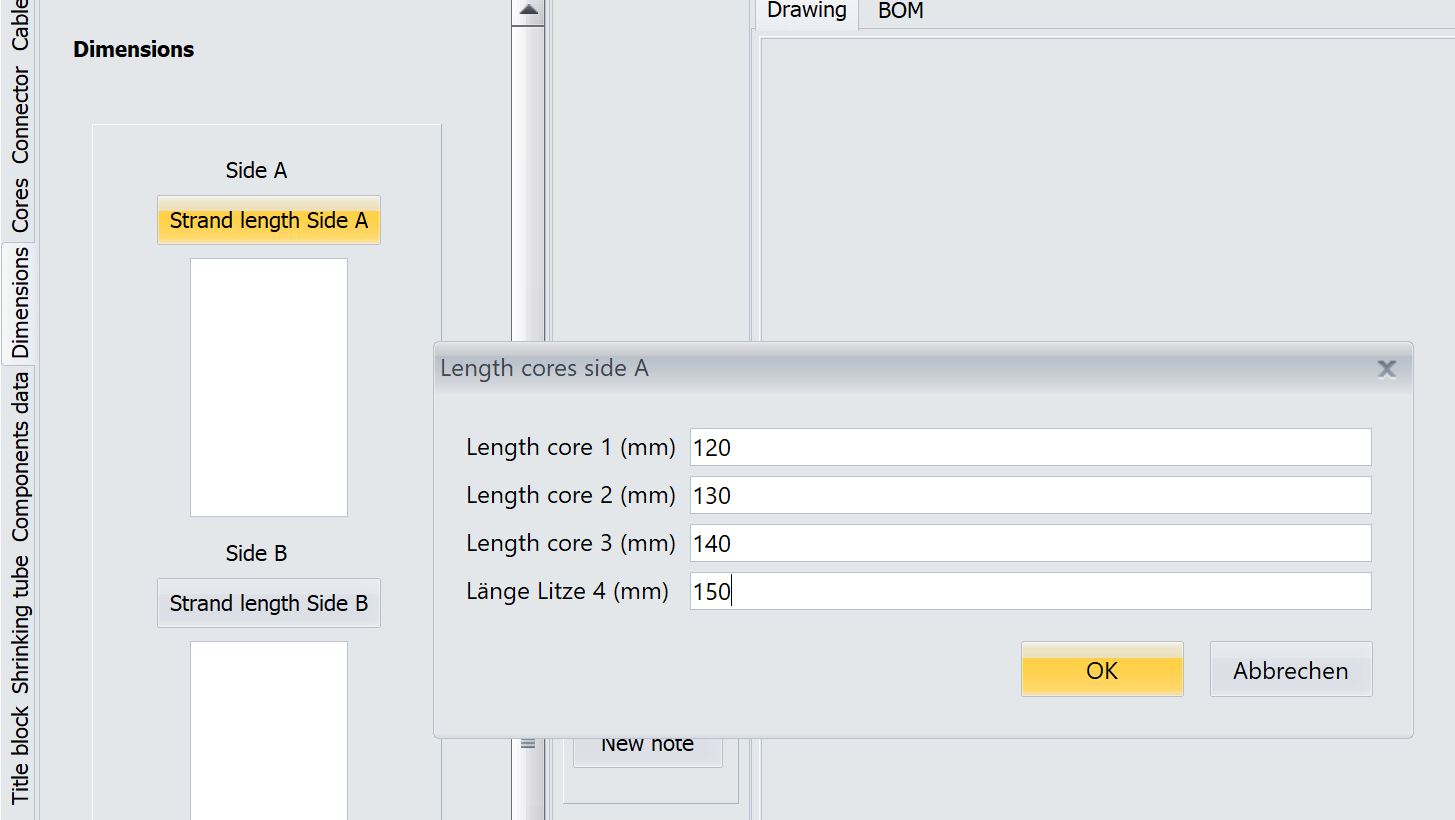
Finally, click OK and the lengths are entered.
At the bottom you also have the option of entering the length of the cable. To do this, click on Length cable and enter the desired length in the window that opens. Finally, click OK.

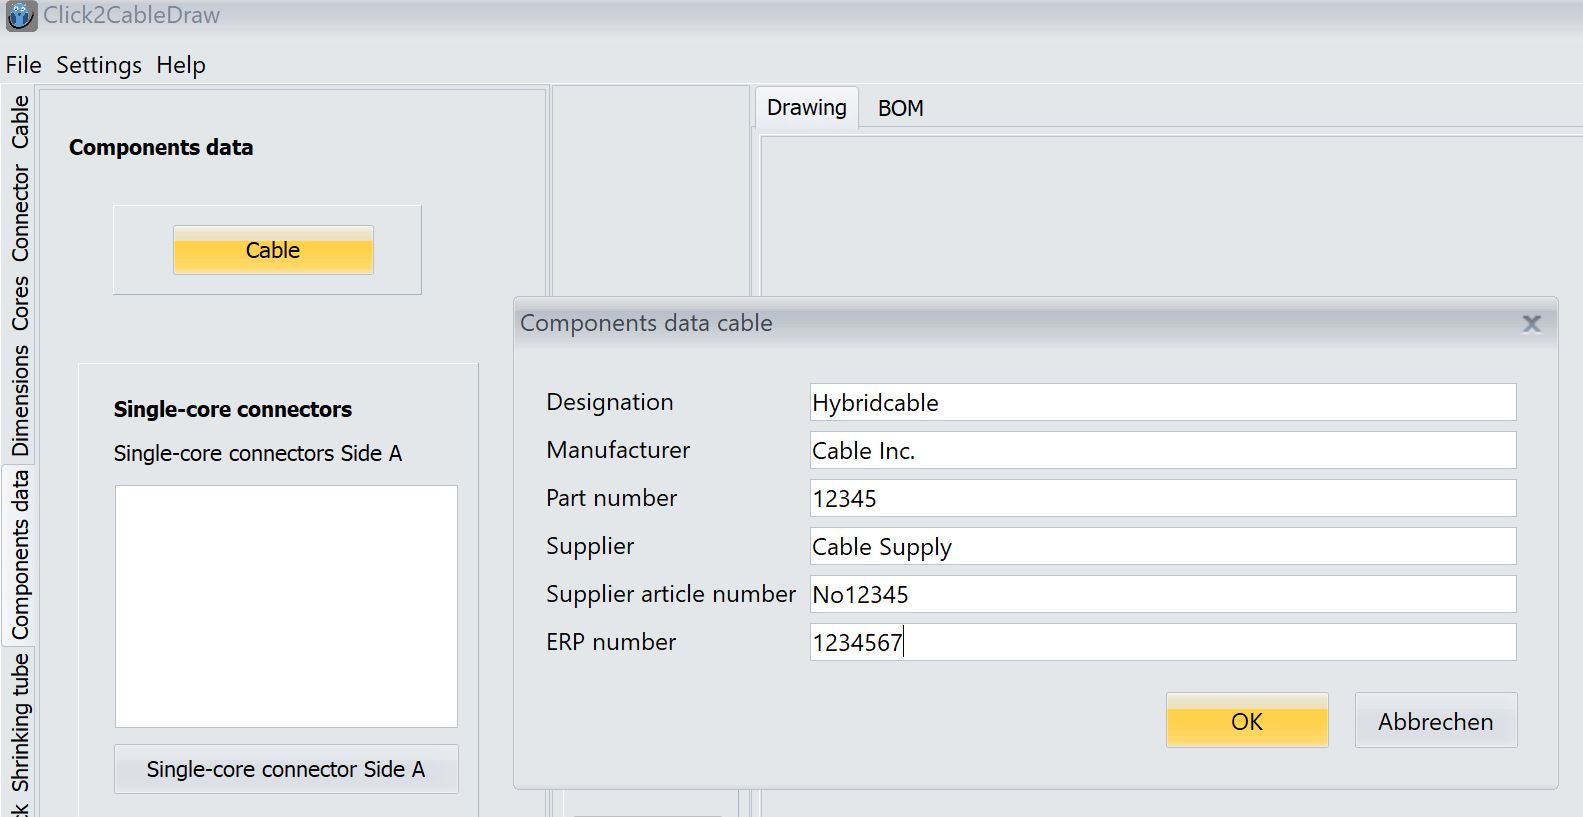
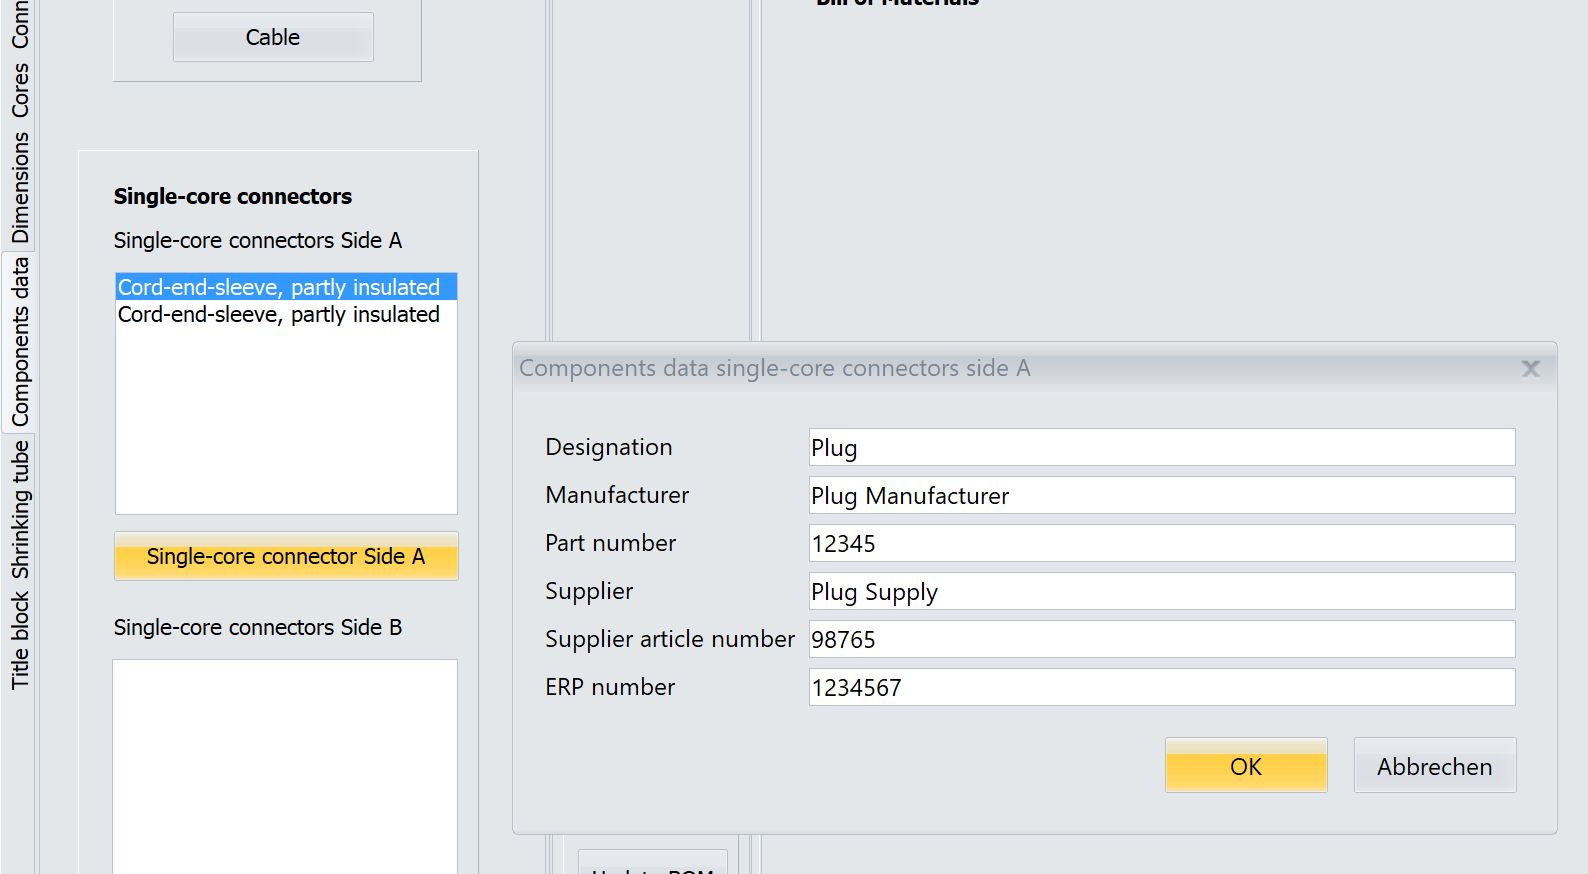
Components data tab
To ensure that all components are clearly identifiable / can be ordered, all purchasing data can be entered in the Components data tab
Open Click2CableDraw -> click on the Components data tab.
Click on Cable - you can now enter all the data for the cable in the window that opens.
If you want to enter data for the connectors, select the desired connector and click the button below the field - you can now enter all the data for the connector in the window that opens.

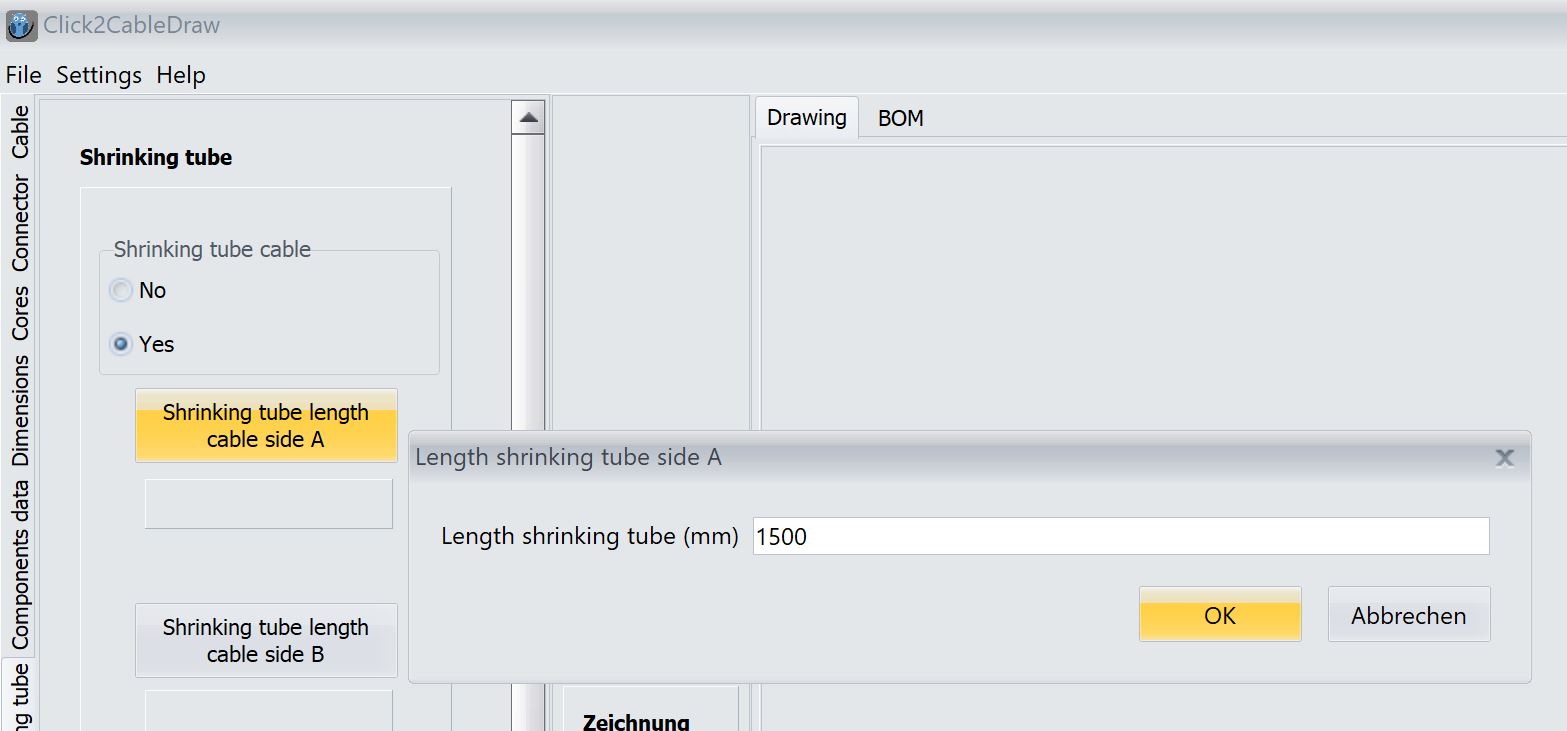
Shrinking tube tab
Click2CableDraw offers the option of applying shrinking tubes to cables.
Open Click2CableDraw -> click on the Shrinking tube tab.
If the cable should have a shrinking tube, select Yes.
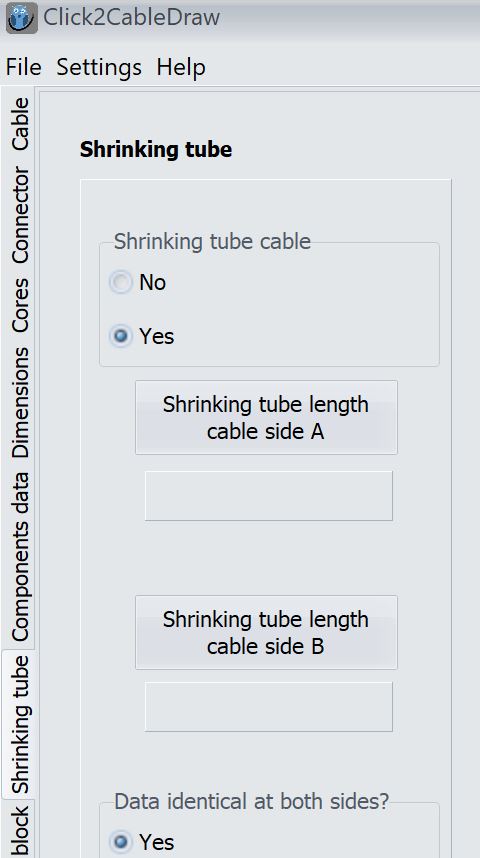
New fields will open, allowing you to enter the length of the shrinking tubes.
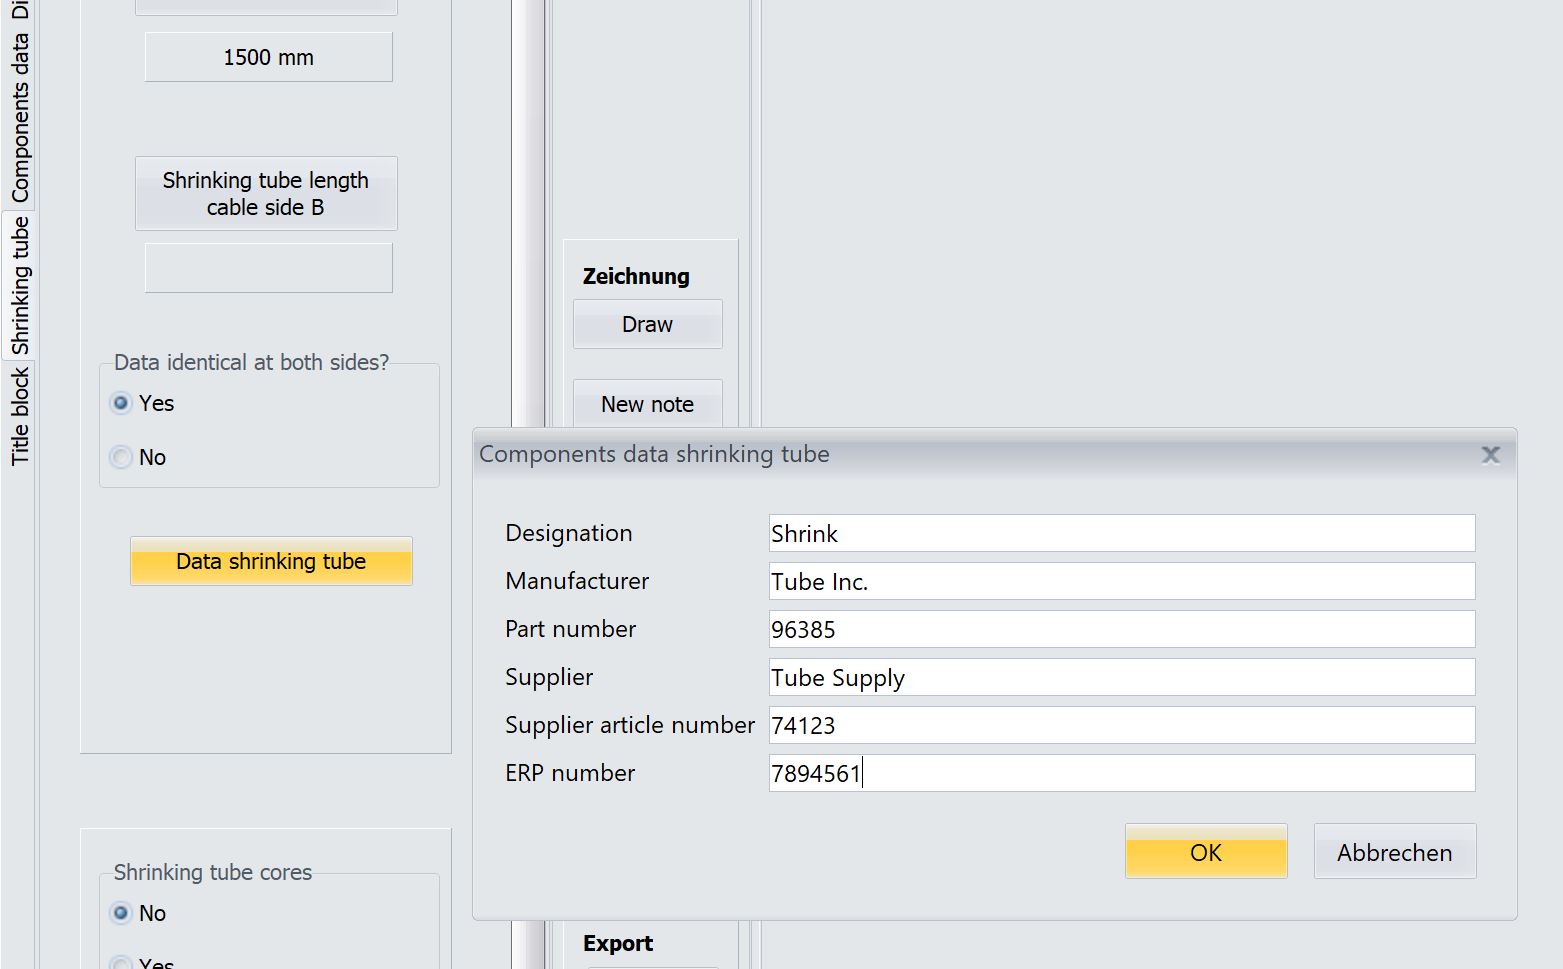
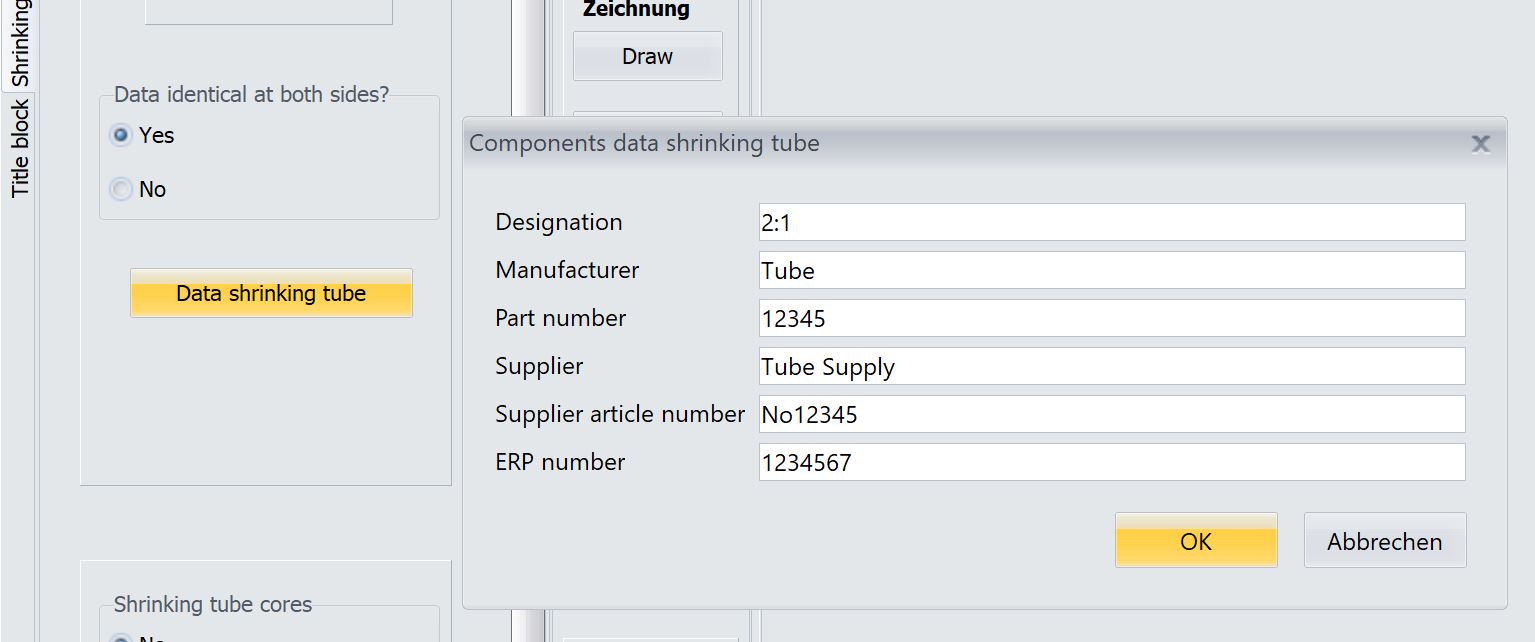
Further down, you can enter the component data for the shrinking tubes. If only one shrinking tube is used, select Yes in field Data identical at both sides. Now click on Data shrinking tube - you can now enter all the data for the shrink tubing in the window that opens.
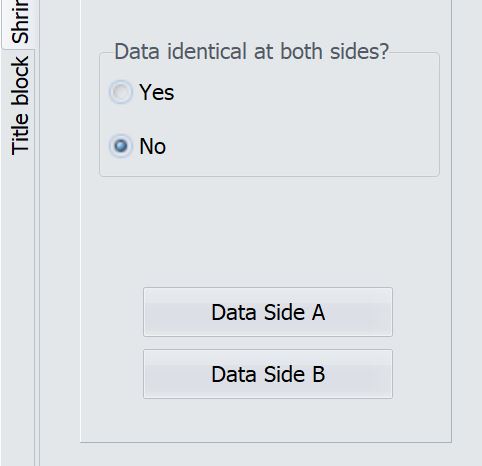
If several different shrink sleeves are used, select No in the field Data identical at both sides. You can now enter different component data for side A or side B.
The procedure for shrinking tubes for cores corresponds to the procedure for shrink tubes for cables.
If the same shrinking tube is used for all cores, select Yes in the field Data identical at all cores. If you are using shrinking tubes, select No. Then select the shrinking tube for which you want to enter data and click on Data Side A or Data Side B.
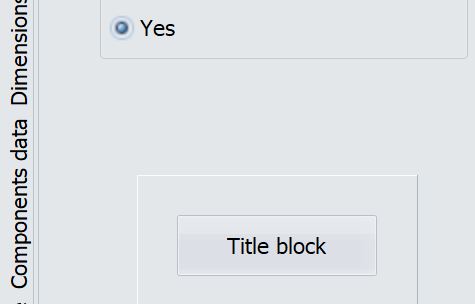
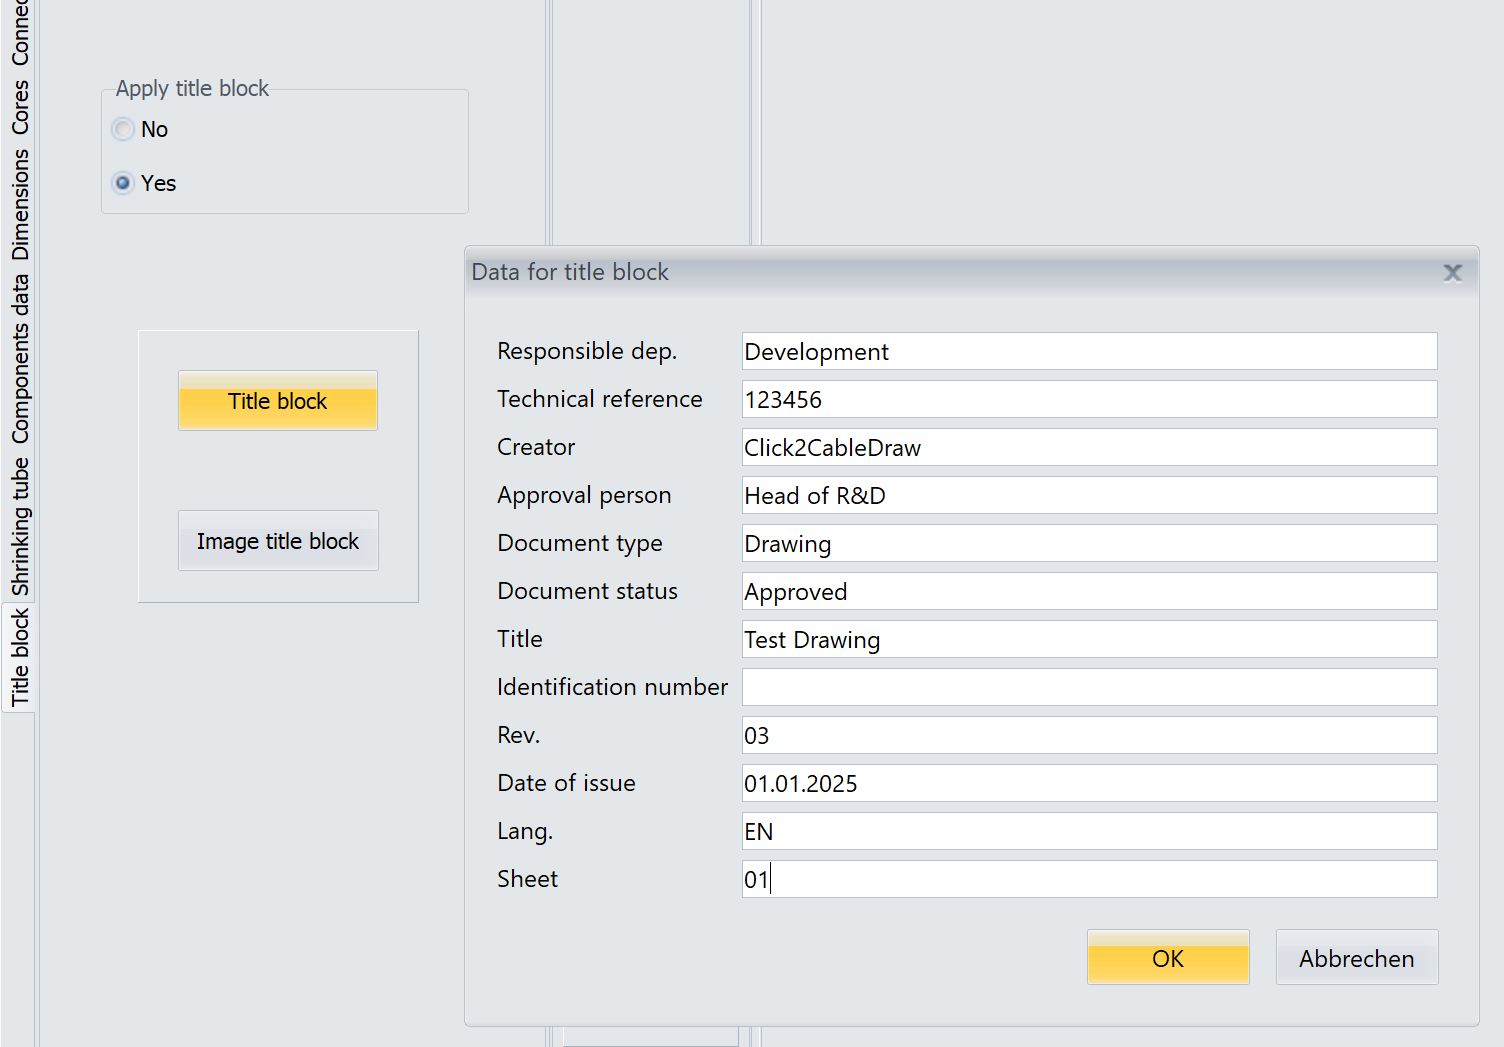
Title block tab
Click2CableDraw offers the option of adding a title block to drawings.
Open Click2CableDraw -> click on the Title block tab.
If you want to attach a title block, select Yes in the Apply title block field.

Then click on Title block.
In the window that now opens, you can add the desired data to the title block.
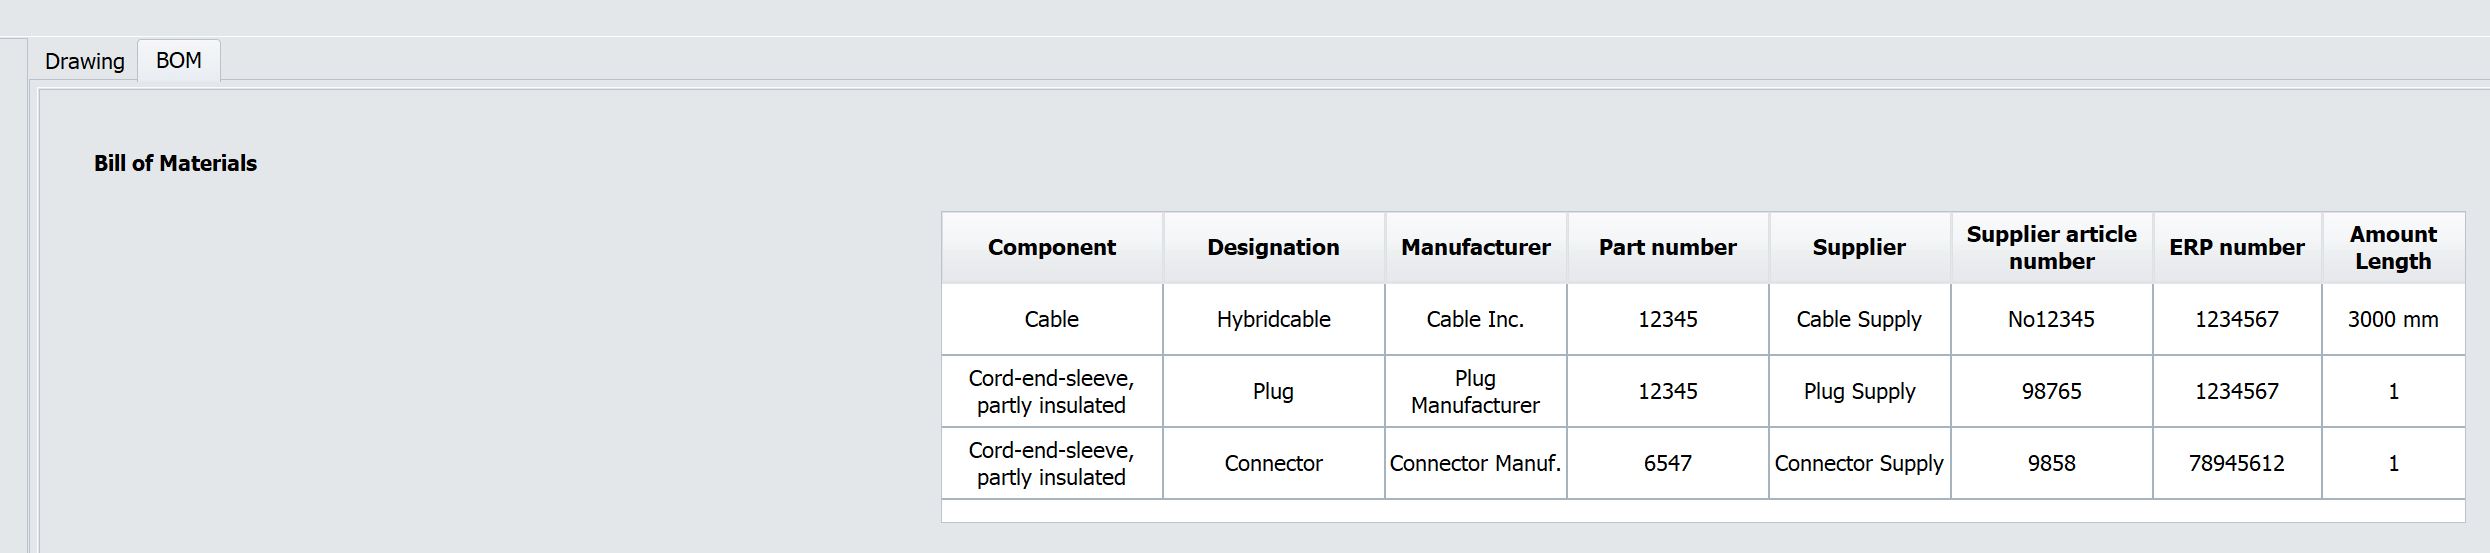
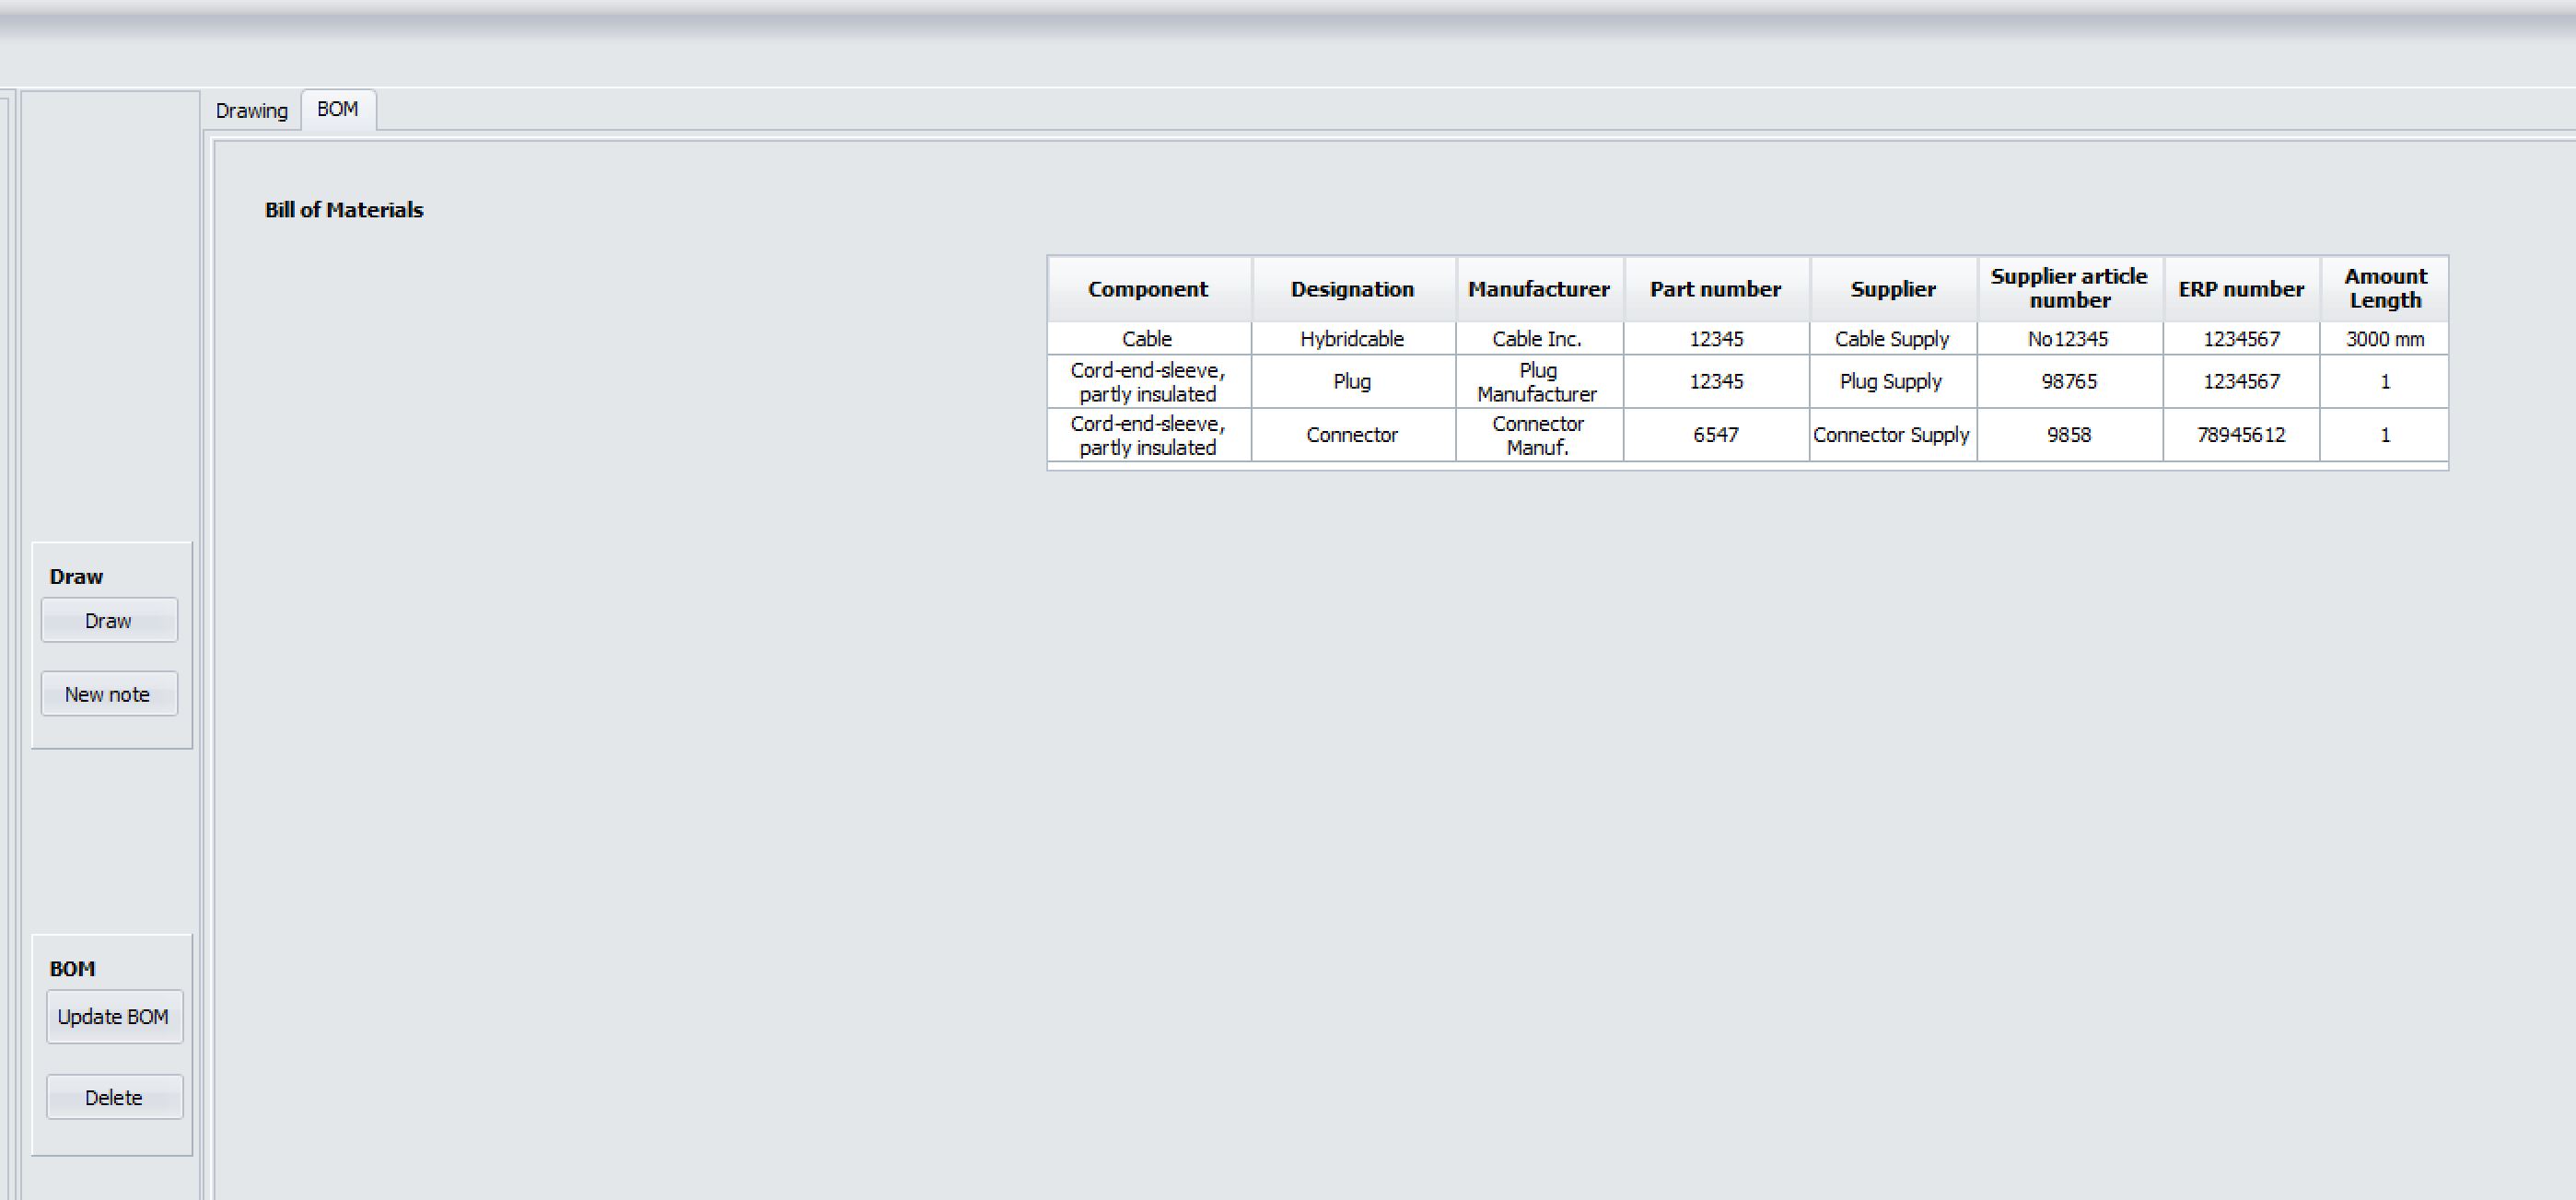
BOM tab
Click2CableDraw offers the option of creating a bill of material.
Open Click2CableDraw -> click on the BOM tab.
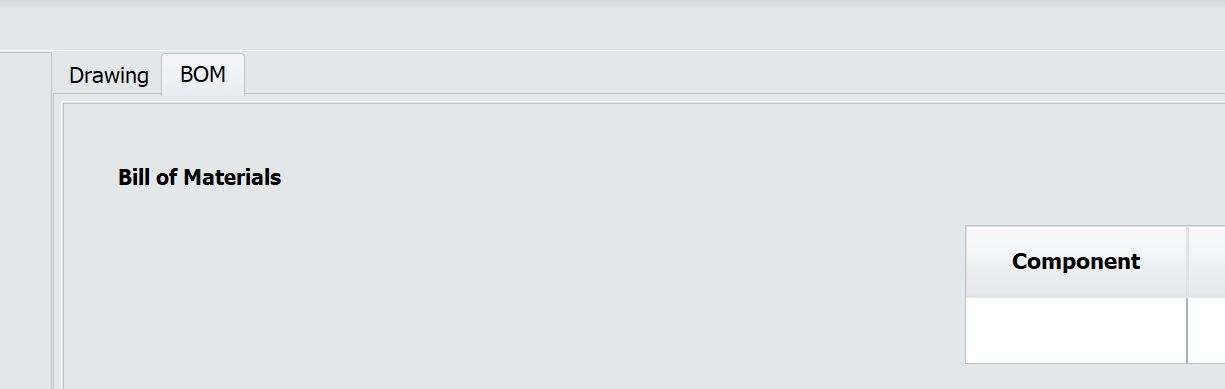
Click on Update BOM in the middle of the window.

The BOM for your drawing will now be updated.
FAQs:
How can I easily create a drawing?
Start Click2CableDraw -> Click on the Cable tab -> Click on Draw in the middle of the screen.
I have changed something, but I don't see the change in the drawing?
A drawing does not update itself. You must always click on Draw in the middle of the screen.
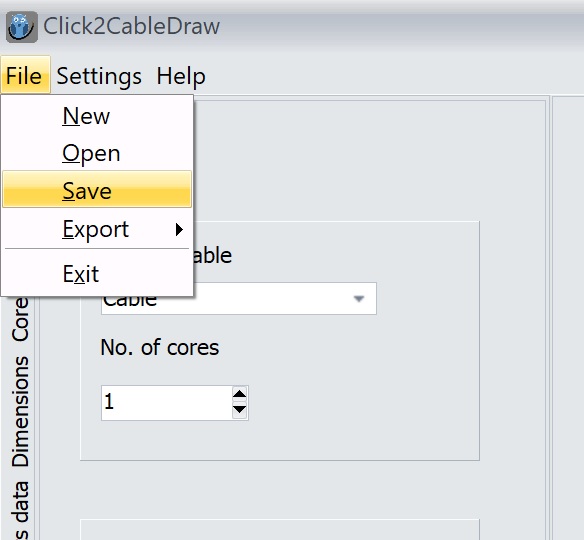
How can I save my data?
Click on File -> Save.
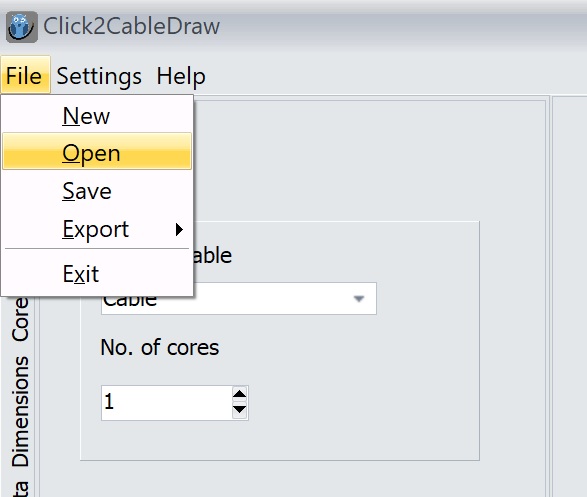
How can I open a file?
Click on File -> Open.
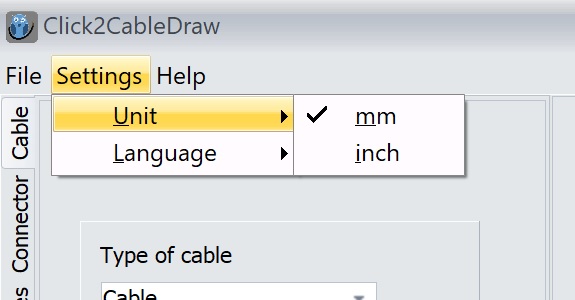
How can I change the unit of measurement?
Click on Settings -> Unit and choose between cm and inch.
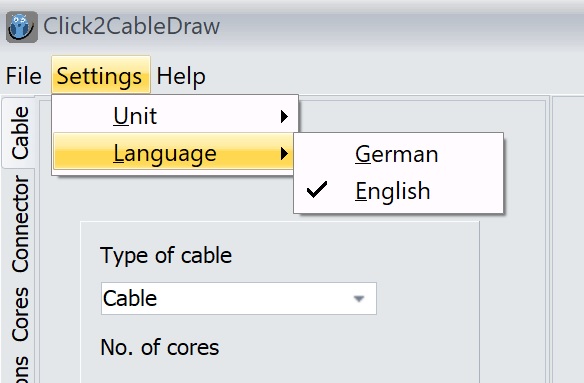
How can I change the language?
Click on Settings -> Language and choose between German and English.
How can I draw a shield for my cable?
Click on the Cable tab -> select Yes in the Cable shielded field. Now select the side on which the shield should be applied backbards.
How can I enter dimensions?
Click on the Dimensions tab -> Now click on the button for which you want to enter dimensions.
How can I enter purchase and order data for my components?
Click on Components data -> select a connector and then click on the button below the field. You can now enter all the purchasing data.
How can I create a parts list?
Component data must first be entered. Click on the BOM tab -> Update BOM. The BOM is now updated.
Where can I enter component data for shrinking tubes?
Click on the Shrinking tube tab -> Apply Yes for Shrinking tube cable / cores -> Decide whether the shrinking tube for the cable / cores is the same or whether different shrinking tubes are used and then click on the Data... button.